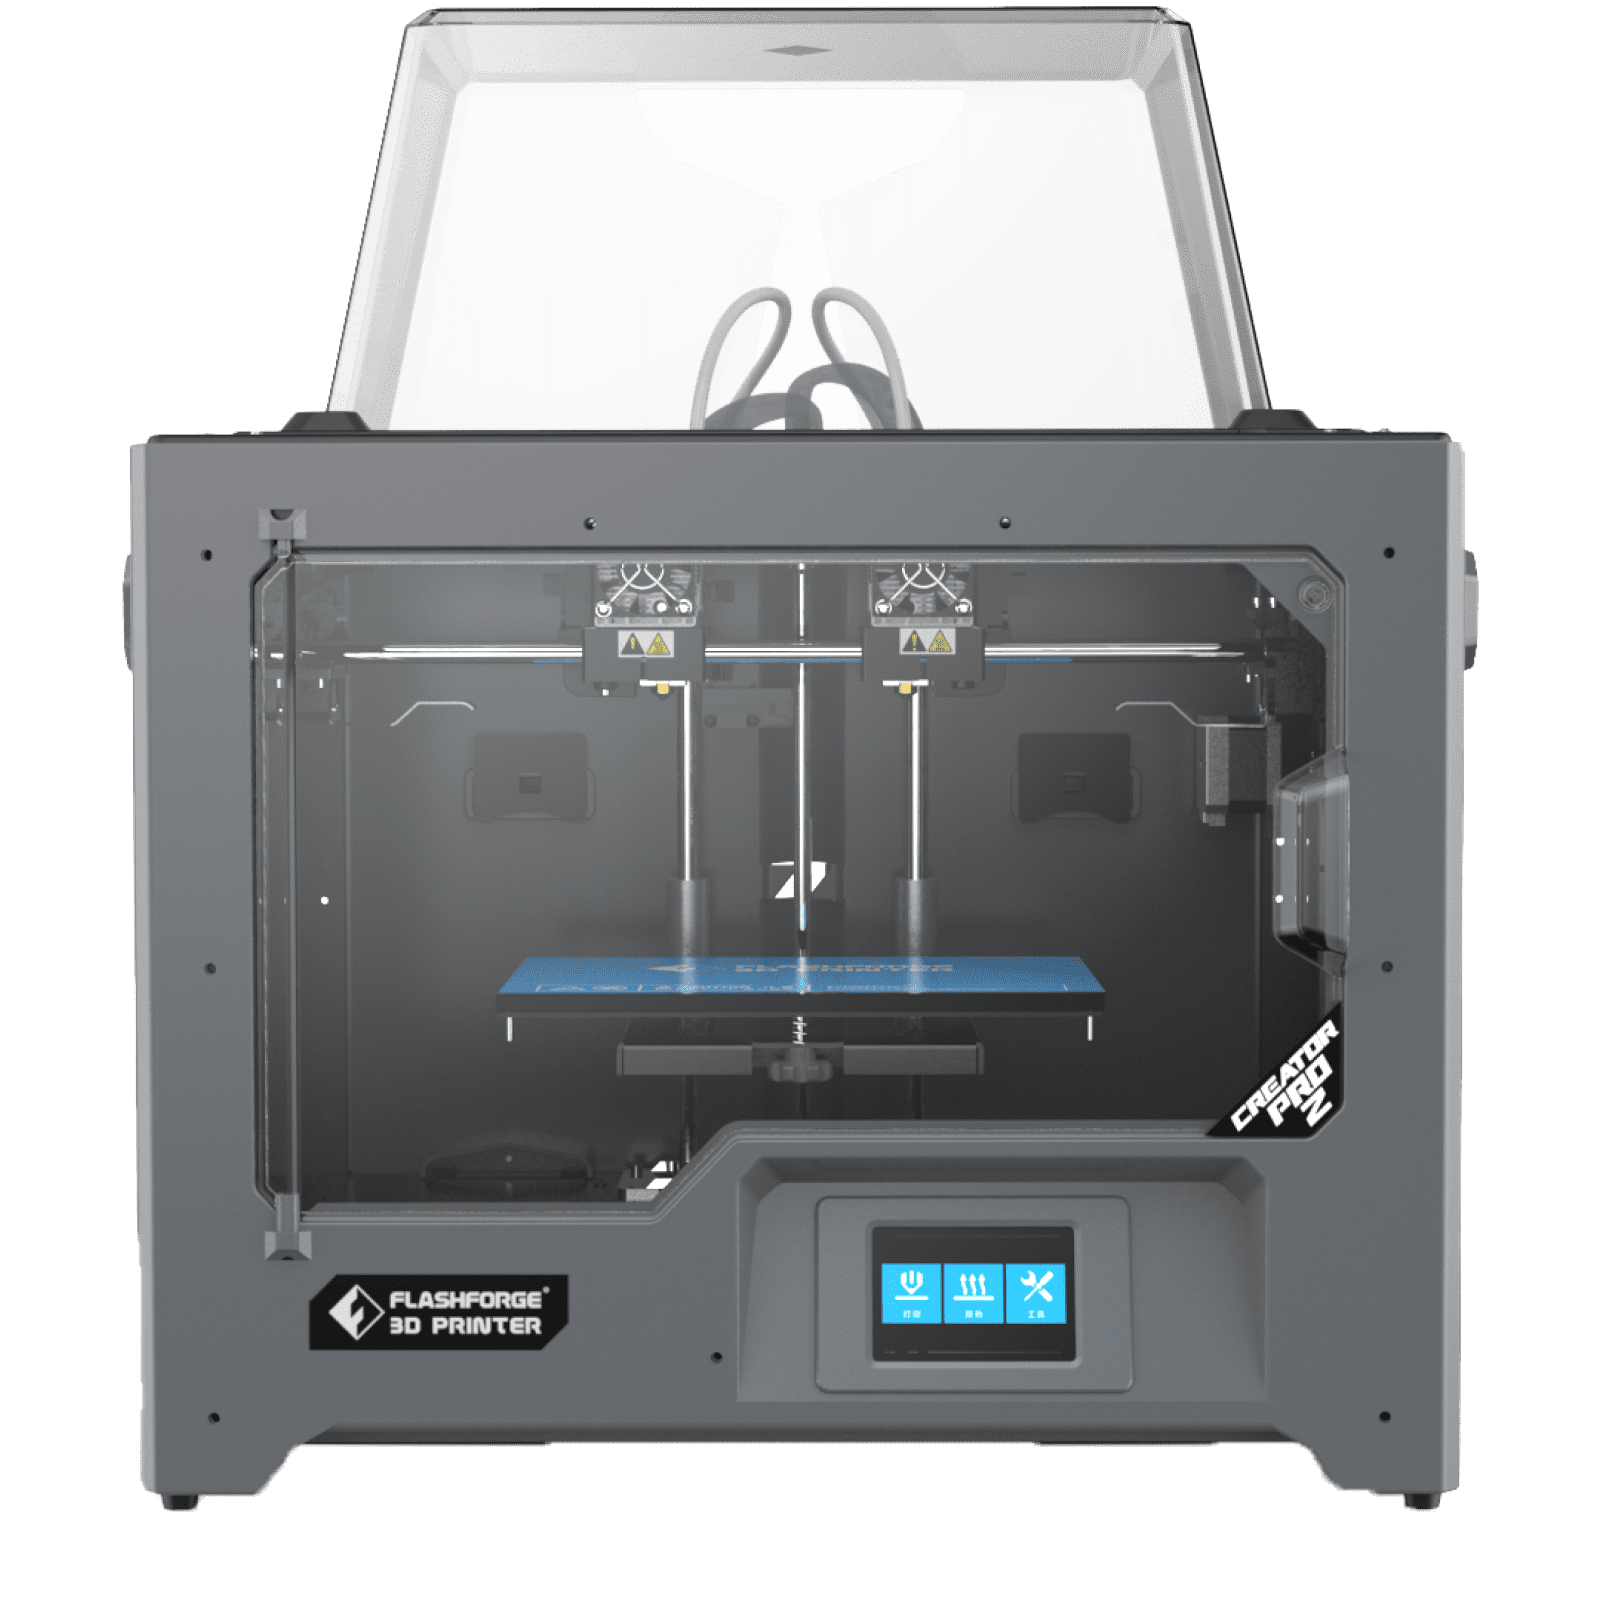

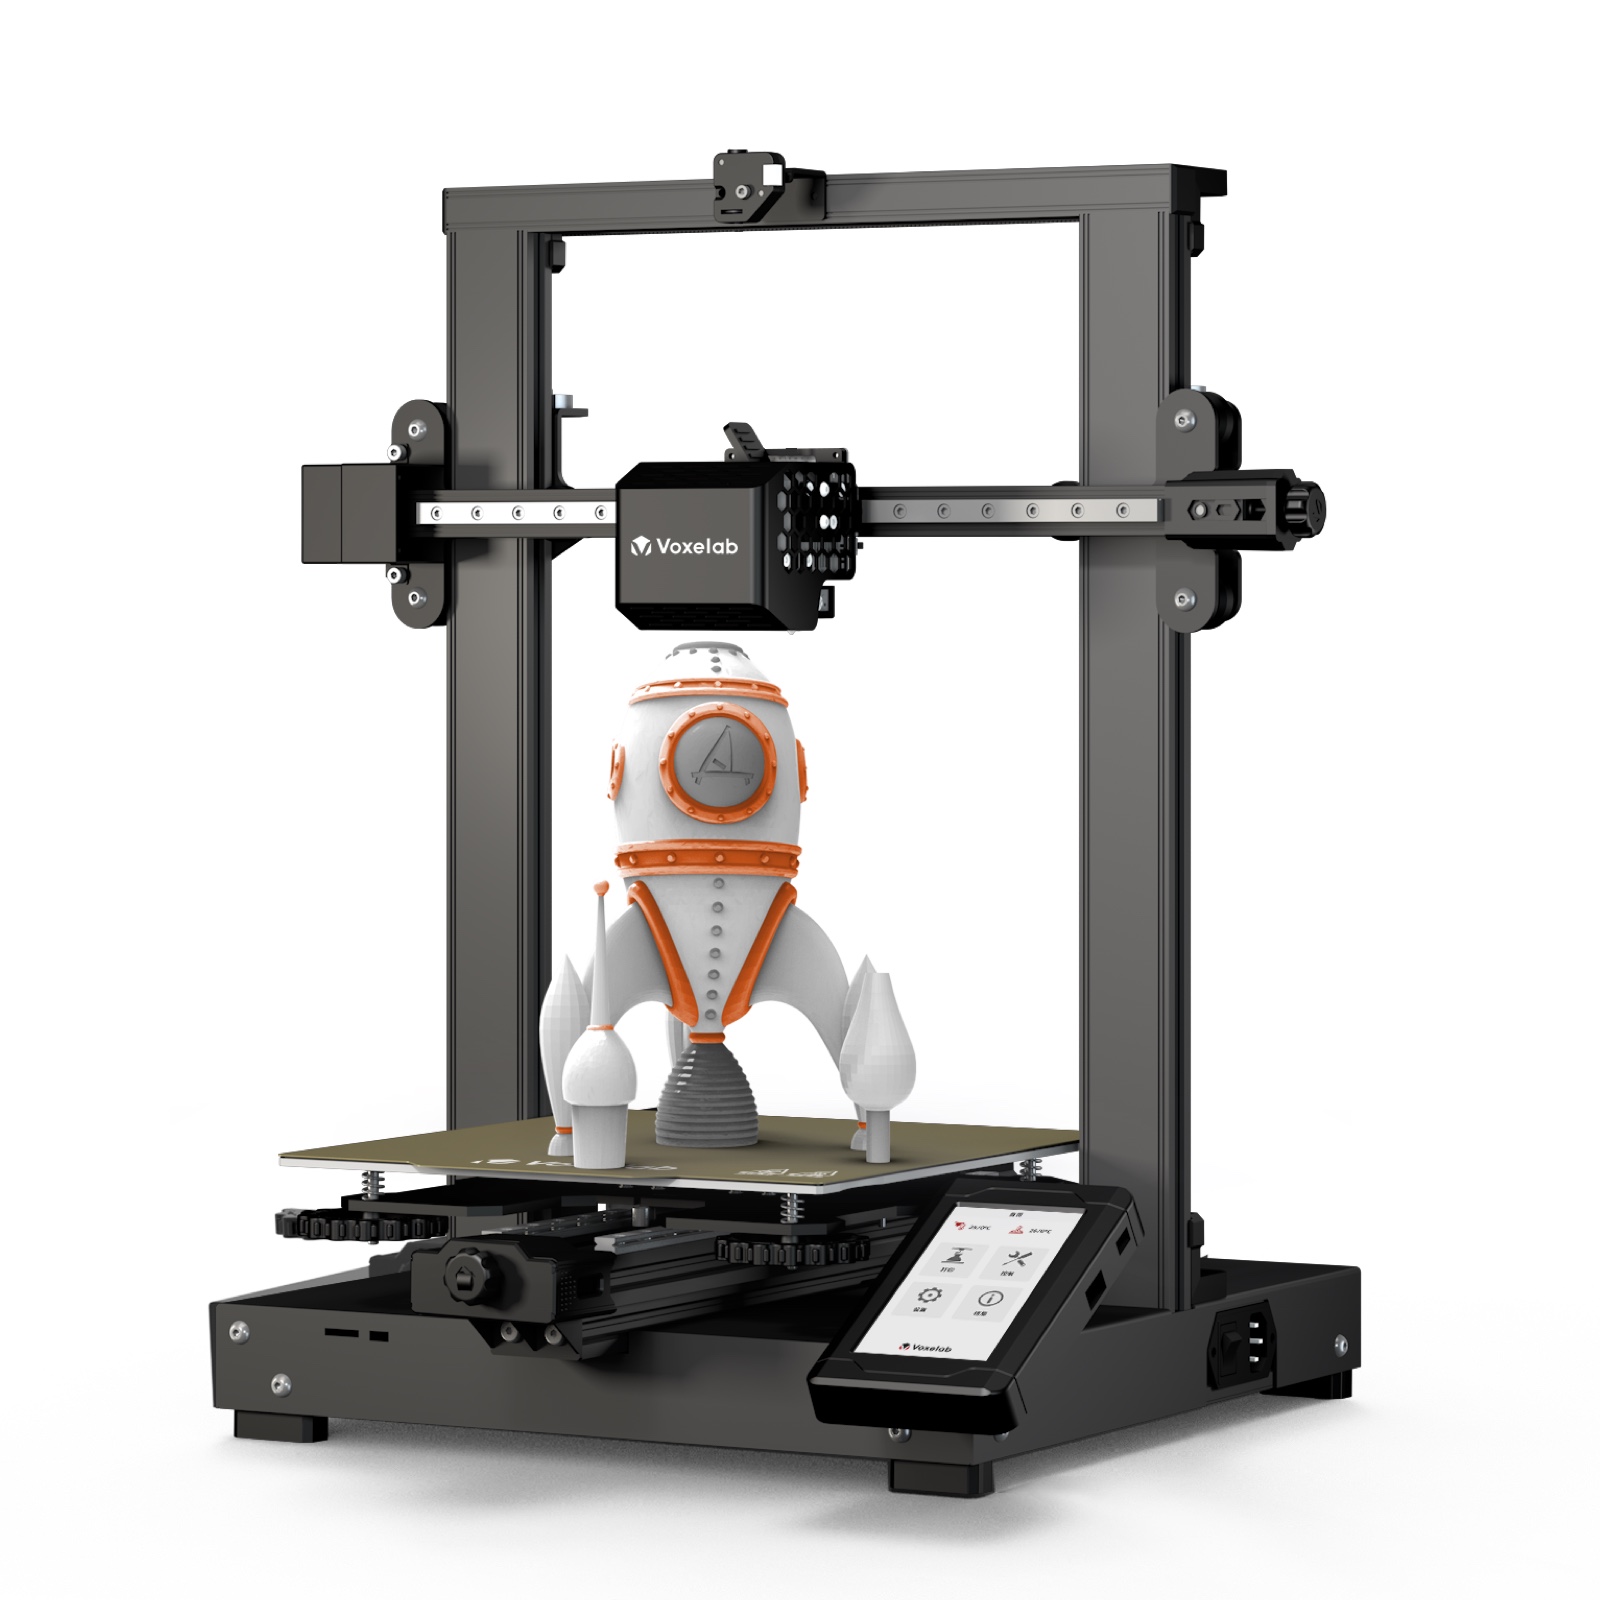


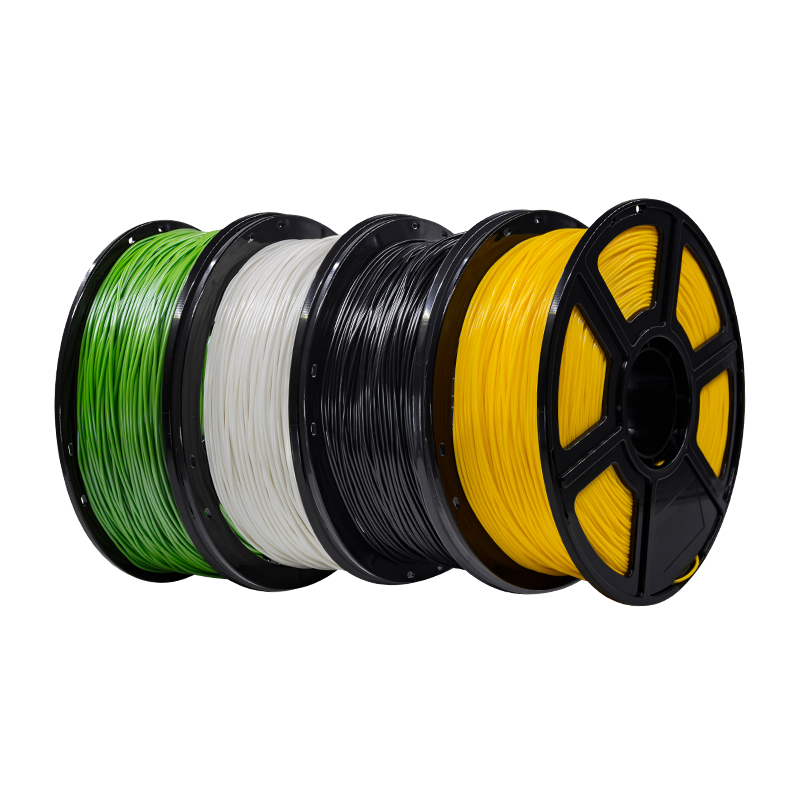


A 3D printer is an additive manufacturing machine which can create three dimensional parts or models from different materials ranging from plastics and glass to metals and woods. The printing process starts by importing a digital model of three dimensional parts which needs to be printed and slicing the print into different layers using a slicing software.
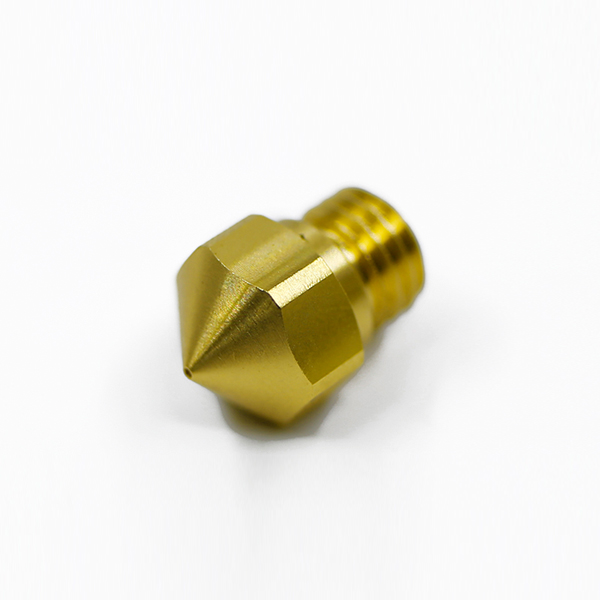
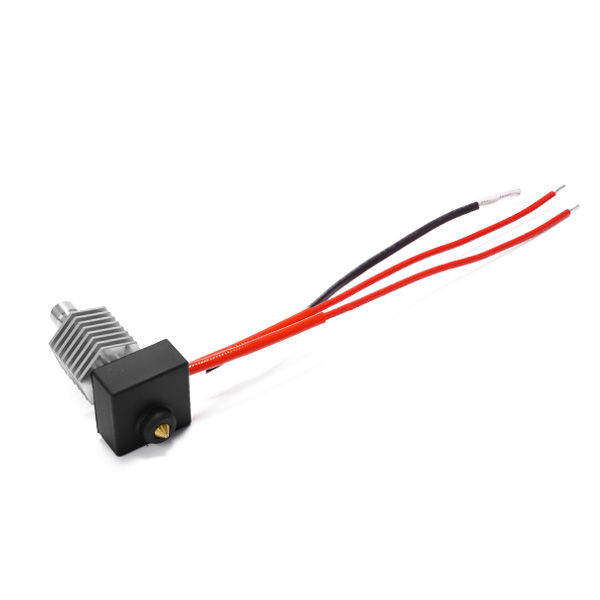
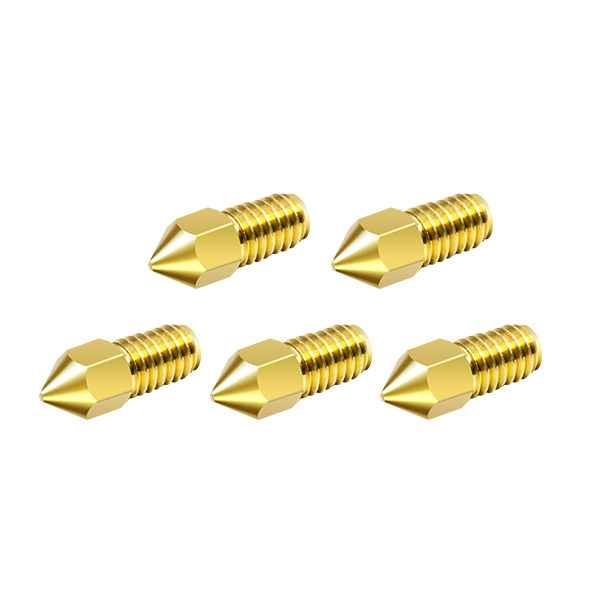
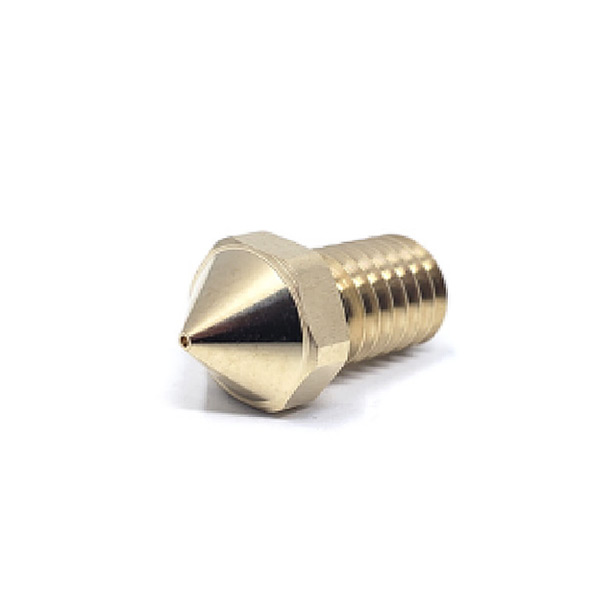
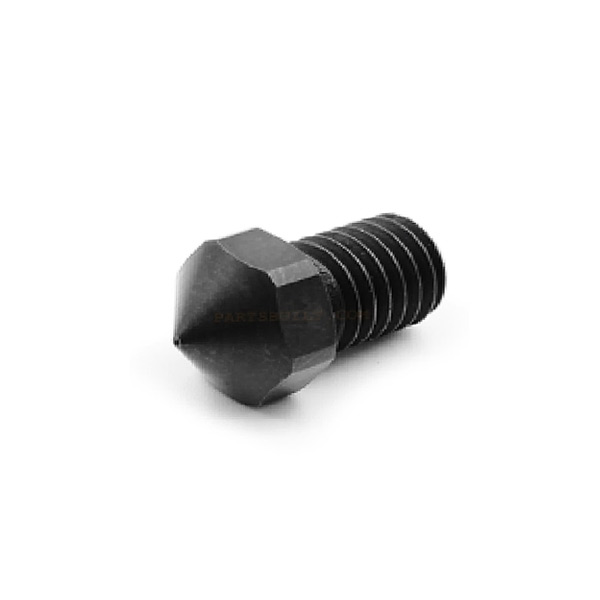
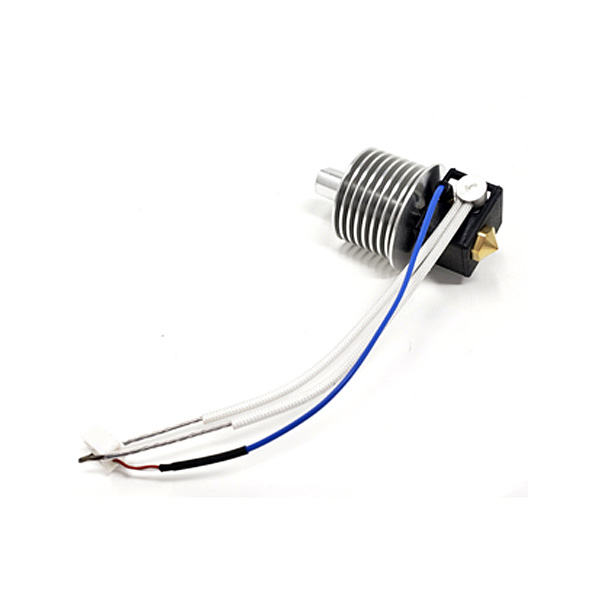
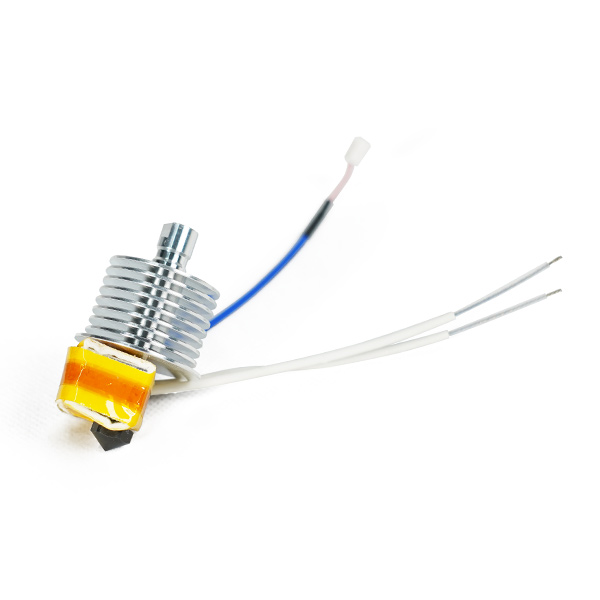
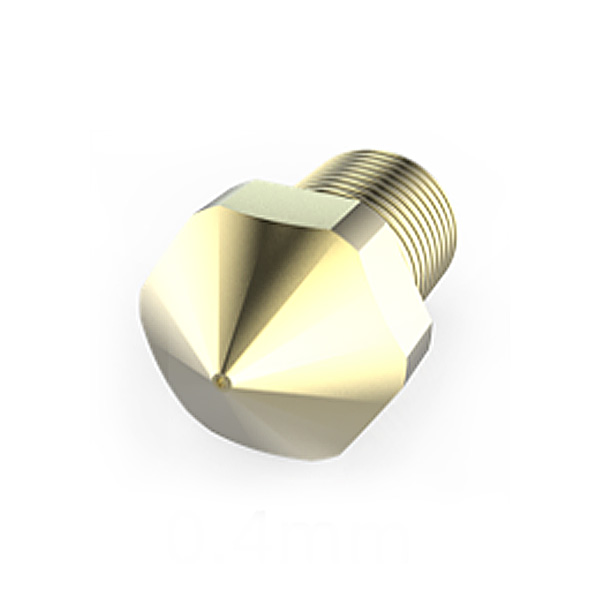
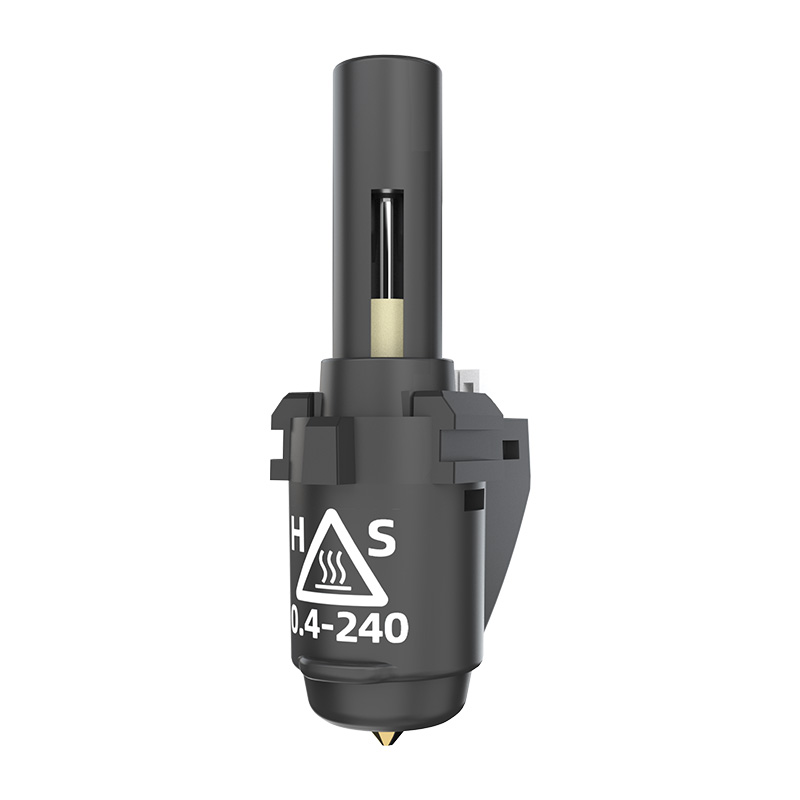
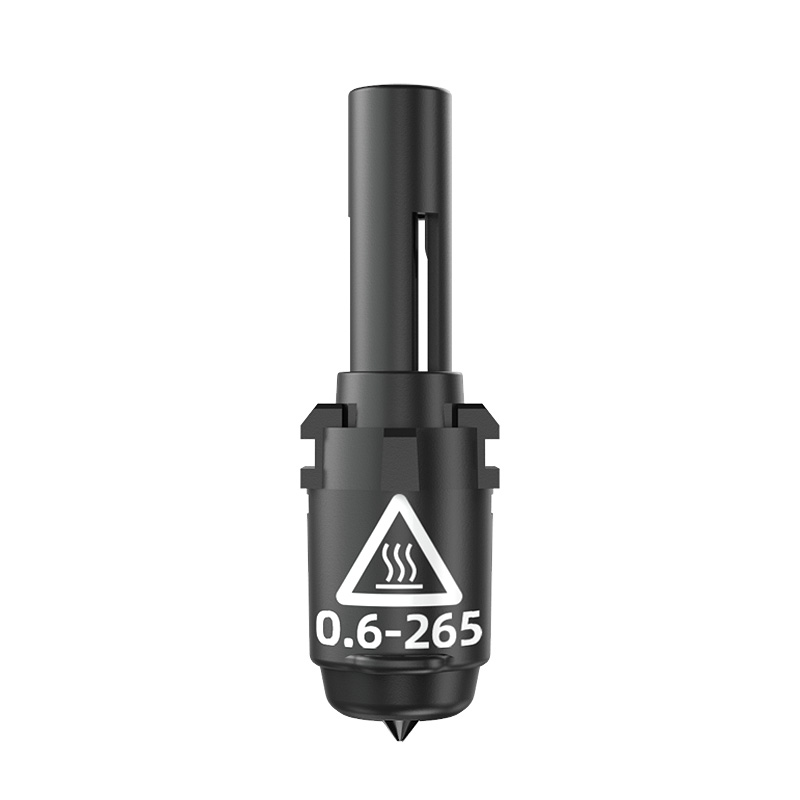
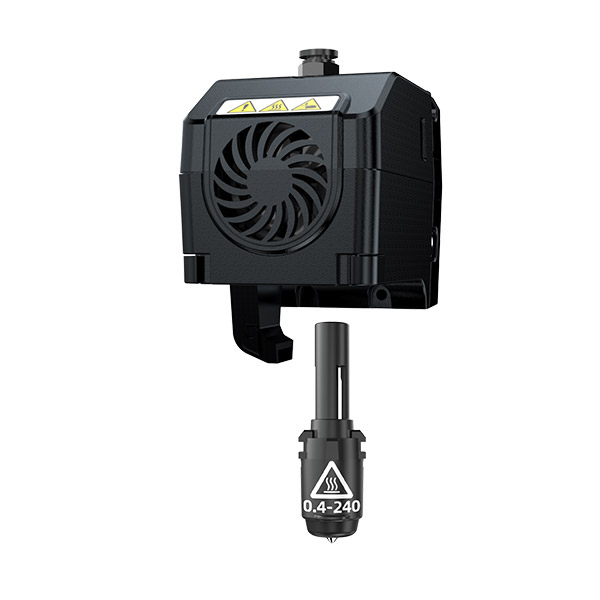
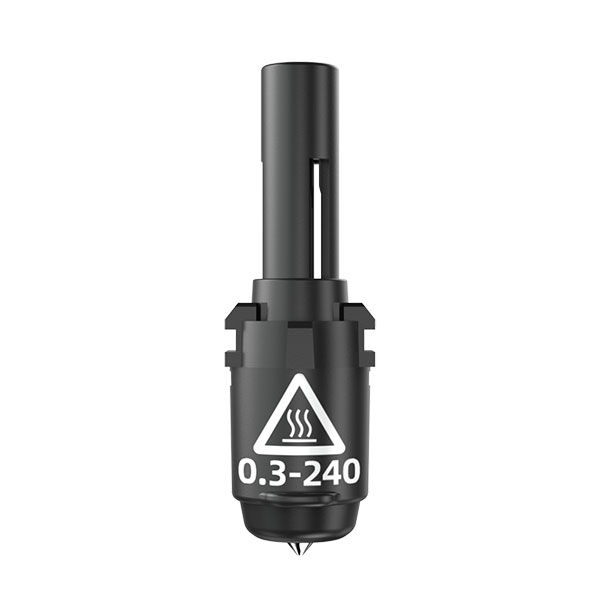
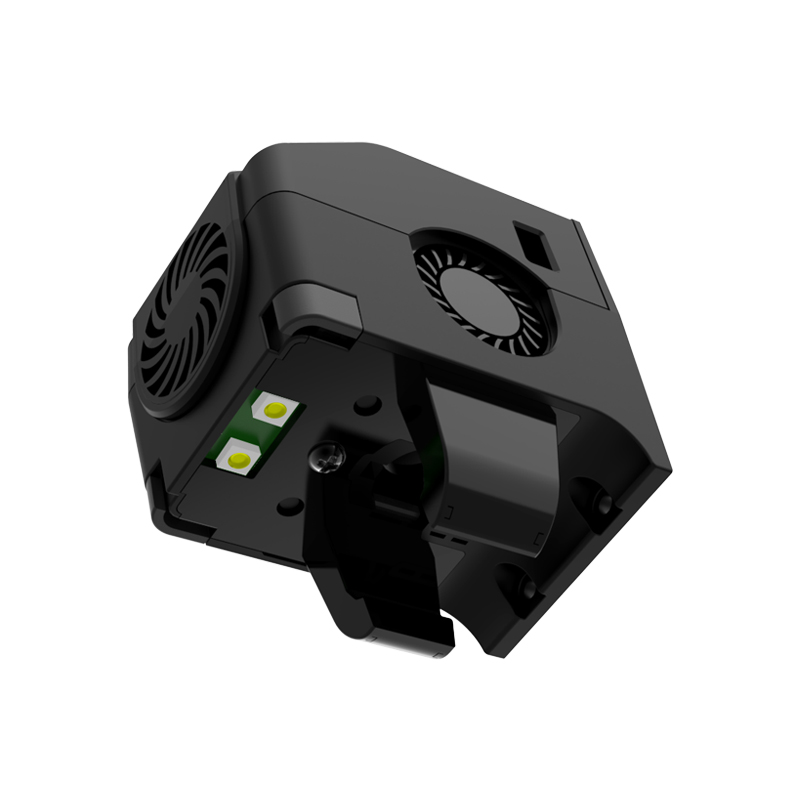
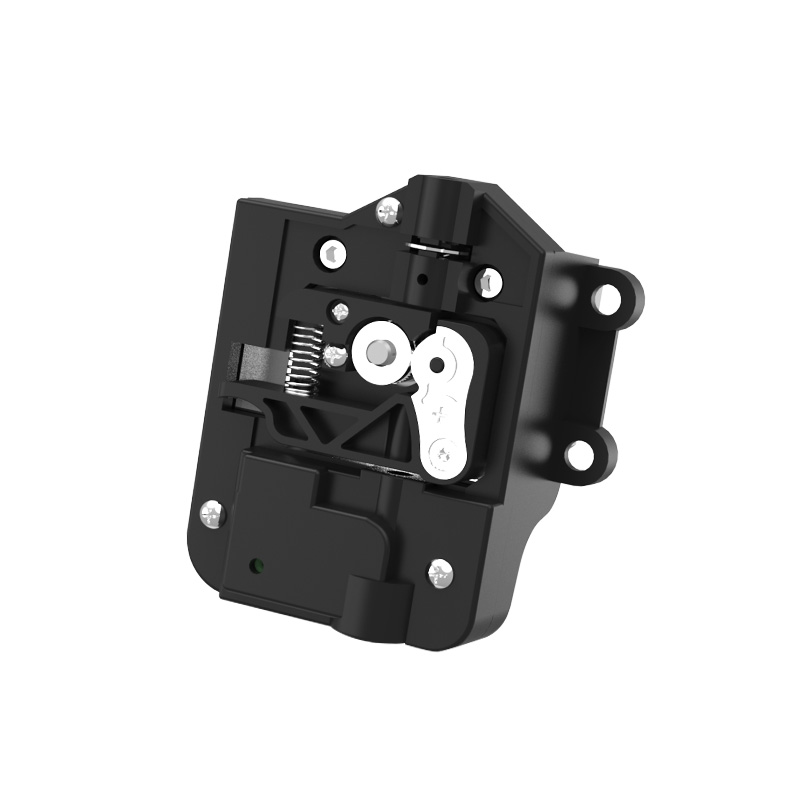
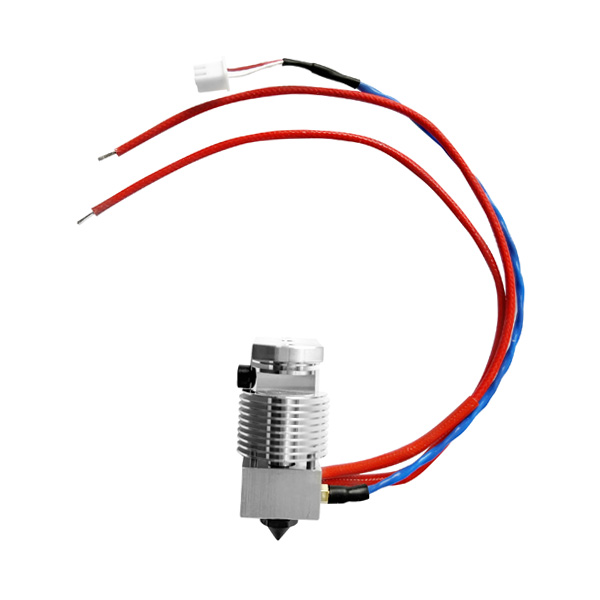
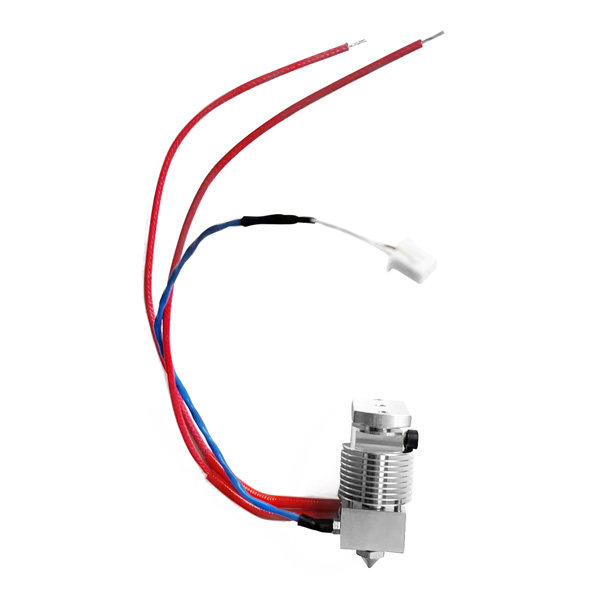
After which the printer starts dispensing the filament through its extruder onto the printer’s bed. The important components of a 3D printer's extruder are nozzle, hot end and extruder motor. The clogging in a 3D printer happens at its extruder which occurs when the material being extruded through the hot end becomes stuck and blocks the flow of material through the nozzle partially or completely. This article will be all about how to clean a clog in hot end of 3d printer.
There are several reasons that cause clogging in a 3D printer and few of them are:
- Low-quality or old filament
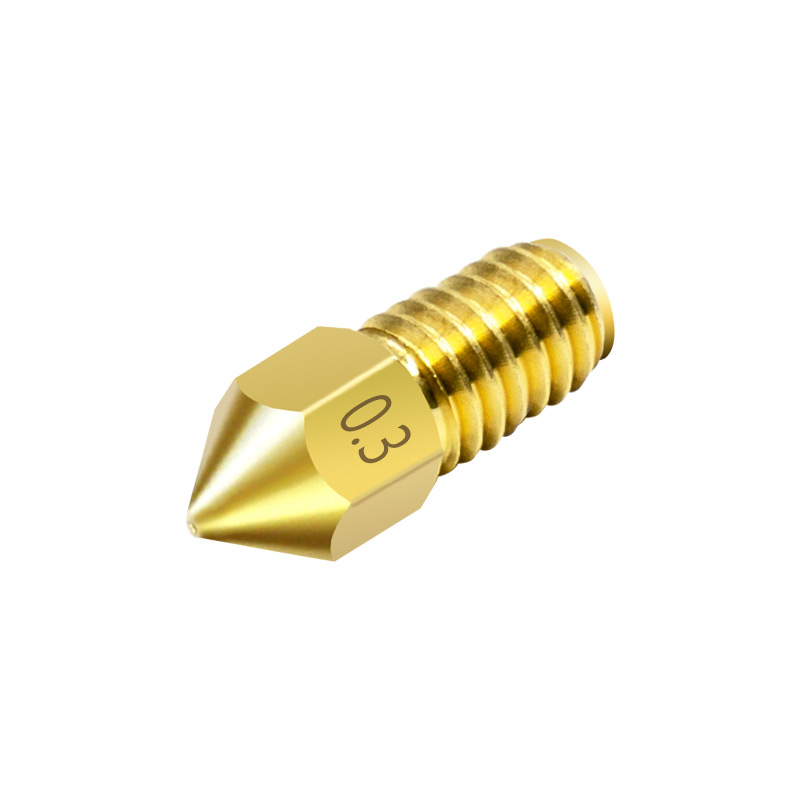
- Dirty or damaged nozzle
- Inconsistent extrusion
- Incorrect temperature
- Overusing 3D printer
The symptoms of a clogged nozzle are filament grinding, poor print quality, no filament extrusion, popping or hissing sounds and hot end temperature fluctuations.
How to Clear a Clog in Hot End of 3D Printer
As discussed above, a clogged nozzle will not allow a 3D printer to work properly which will deteriorate its performance and poor quality prints will be obtained. To reinstate the performance of a 3D printer, its nozzle must be unclogged before using it.
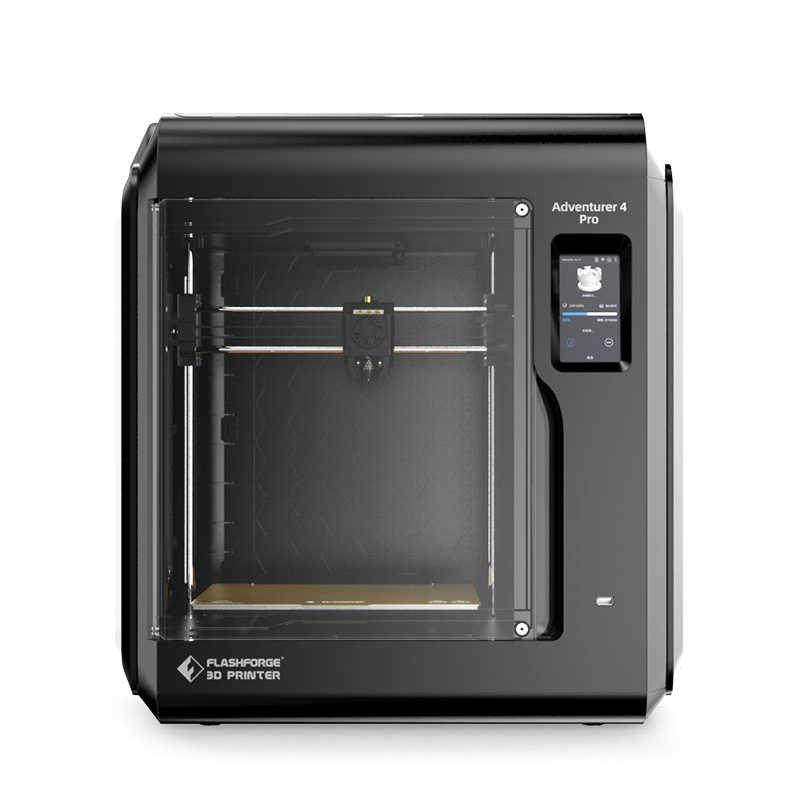
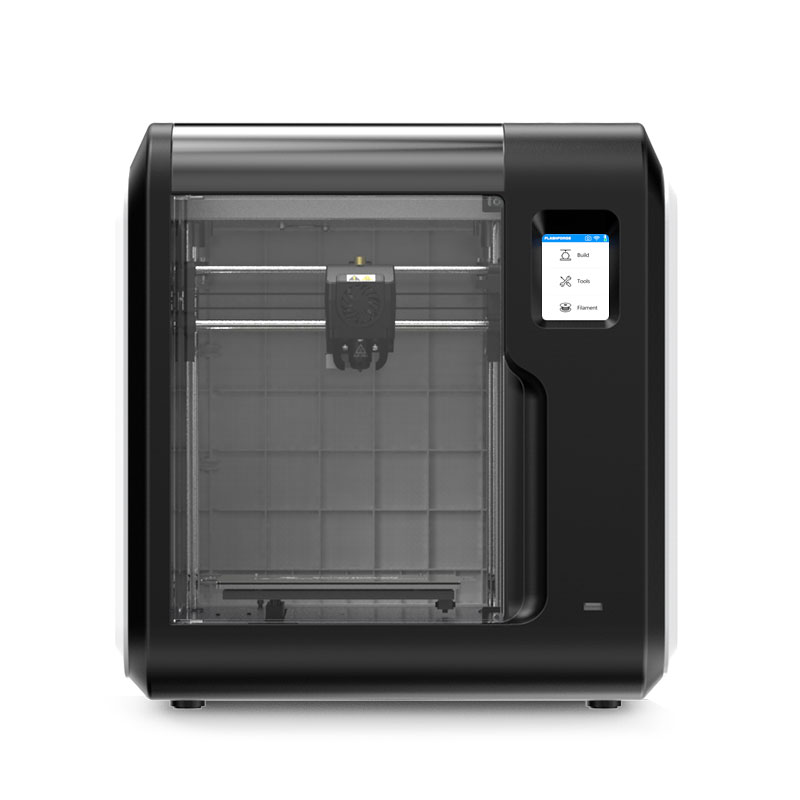
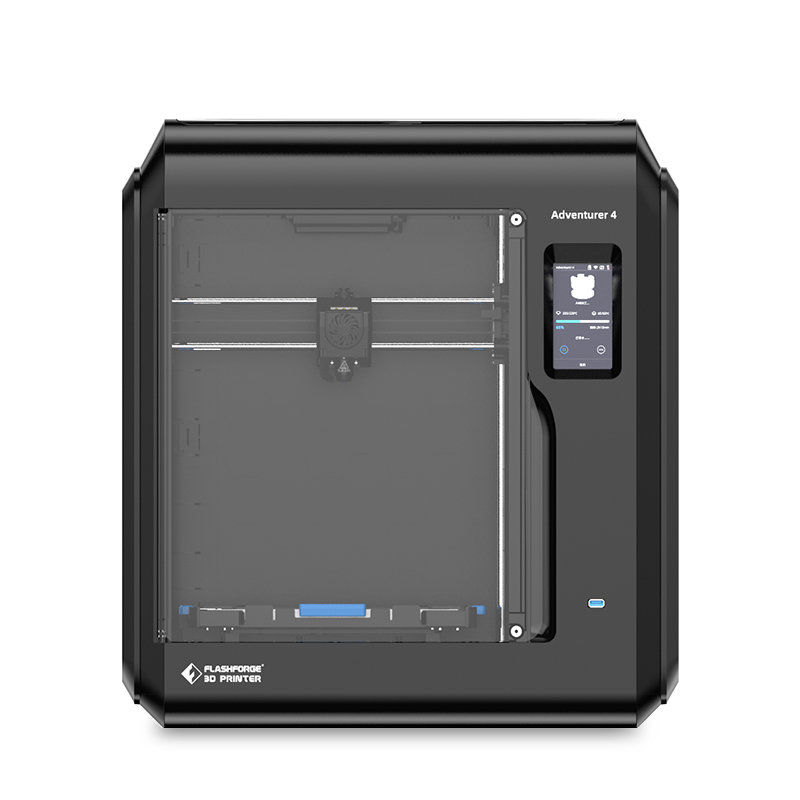
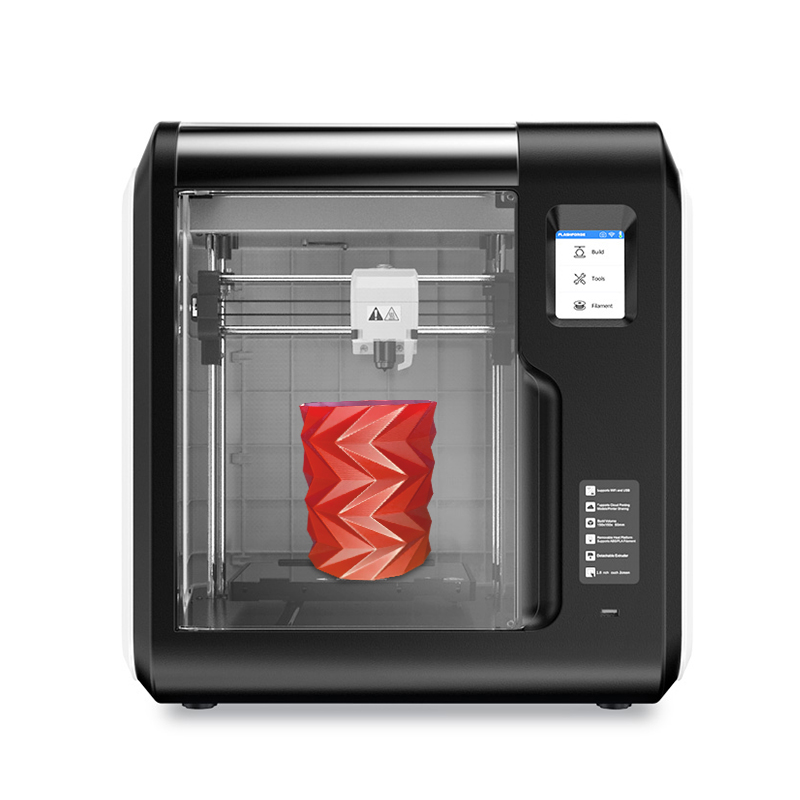
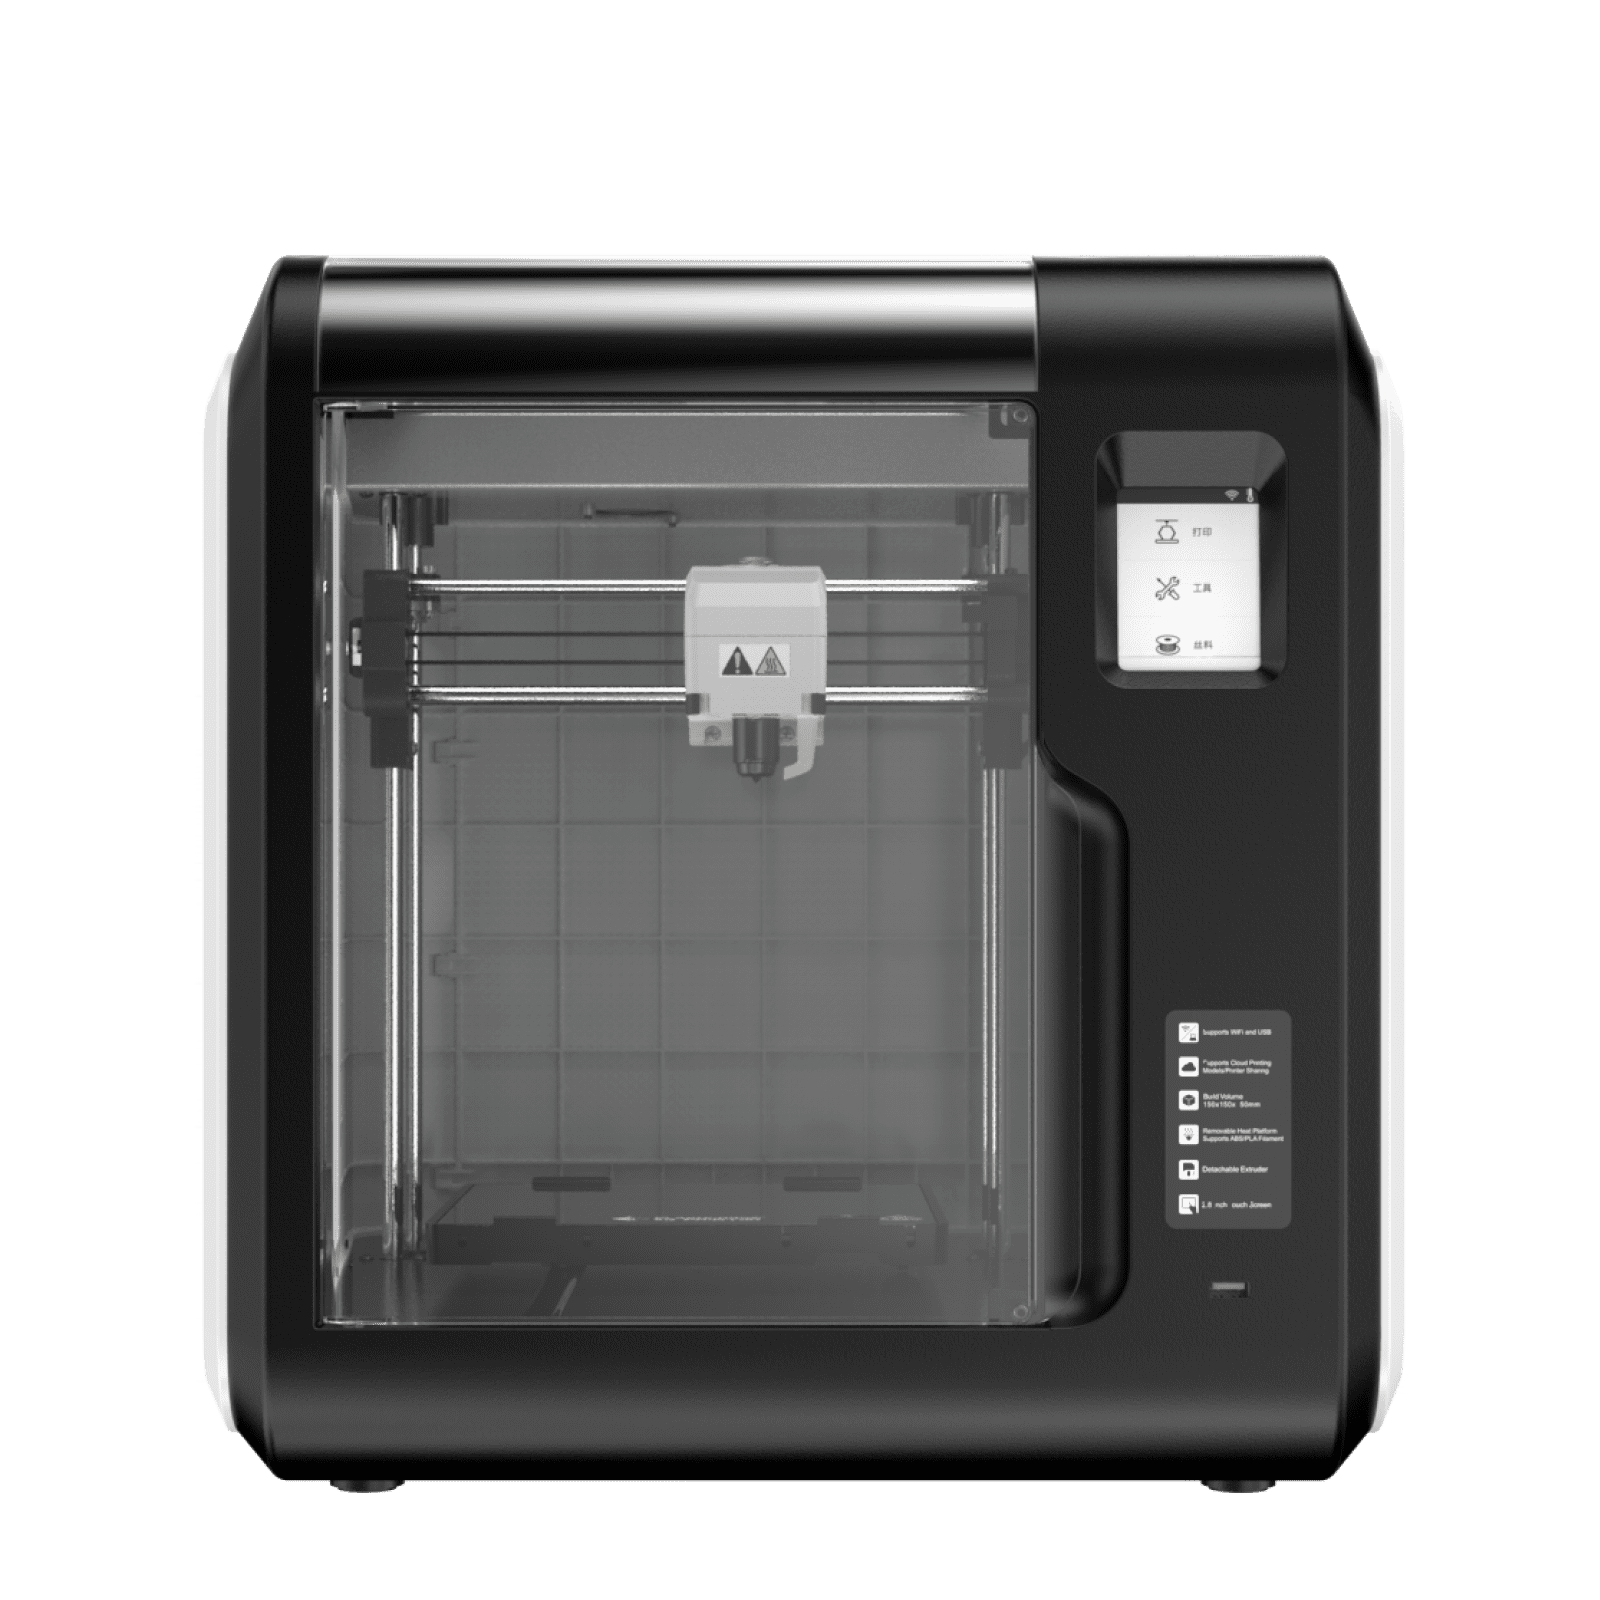
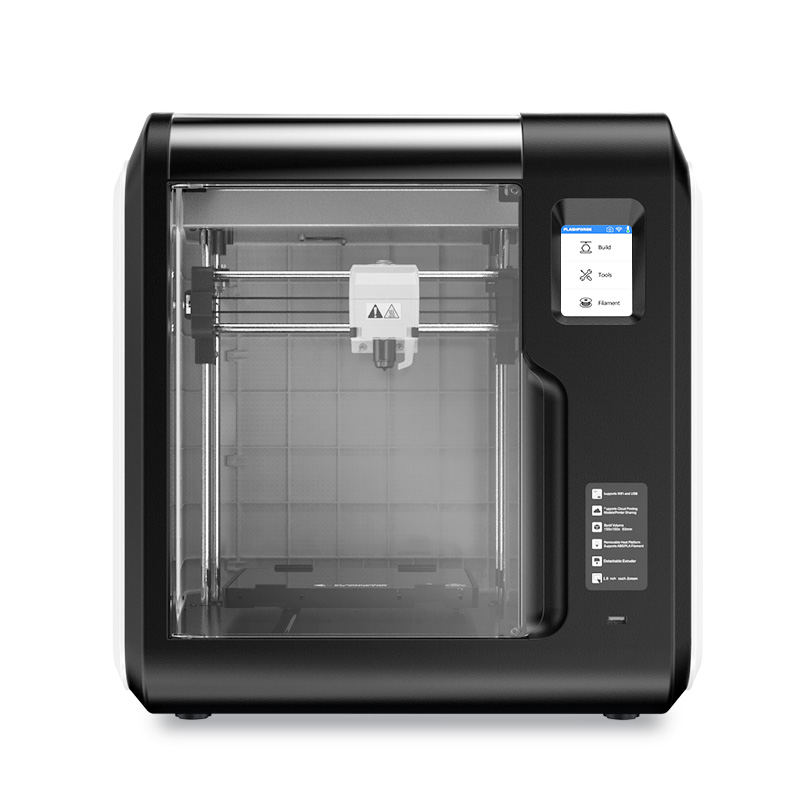
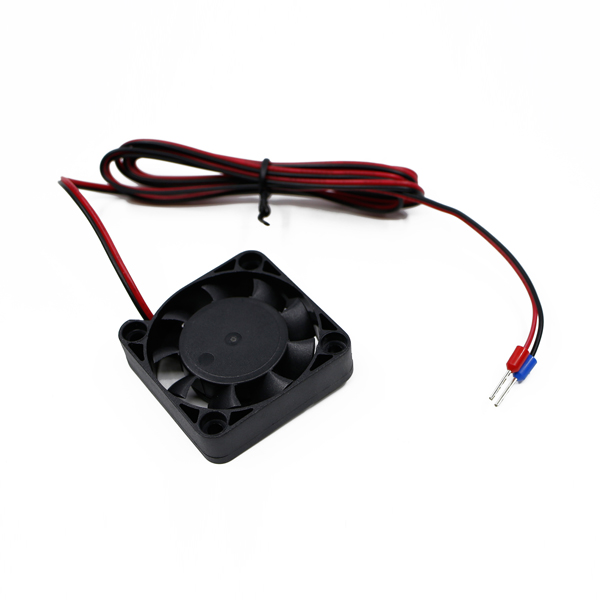
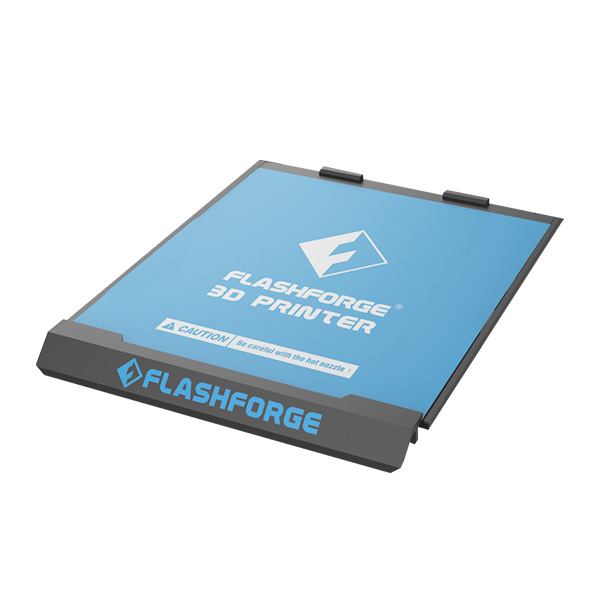
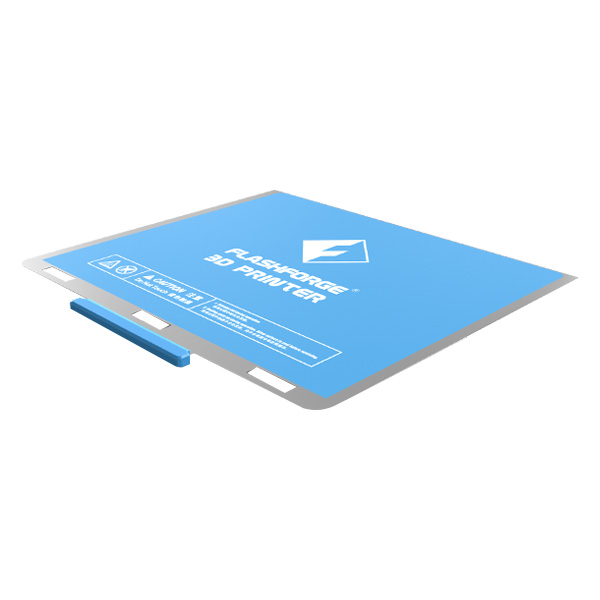
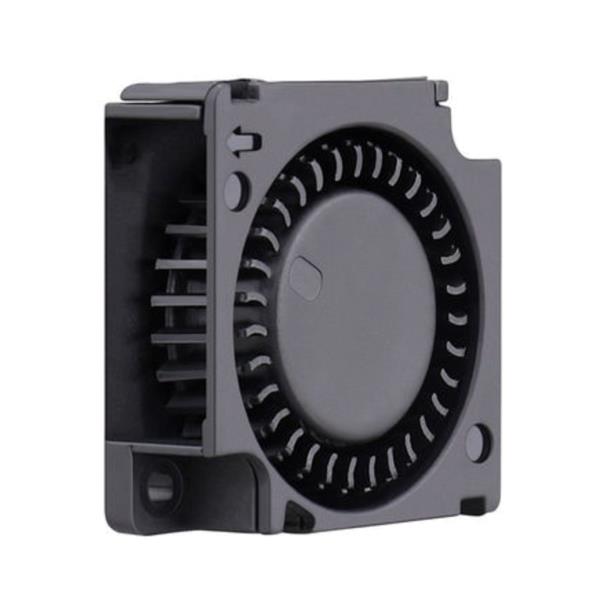
We will discuss the procedure of how to clear a clog in hot end of 3d printer for FlashForgeShop Adventurer 3 3D printers in this article. The procedure of other models of 3D printers should also remain the same with little variations mainly due to different types of screws and turbo fan dismantling etc.

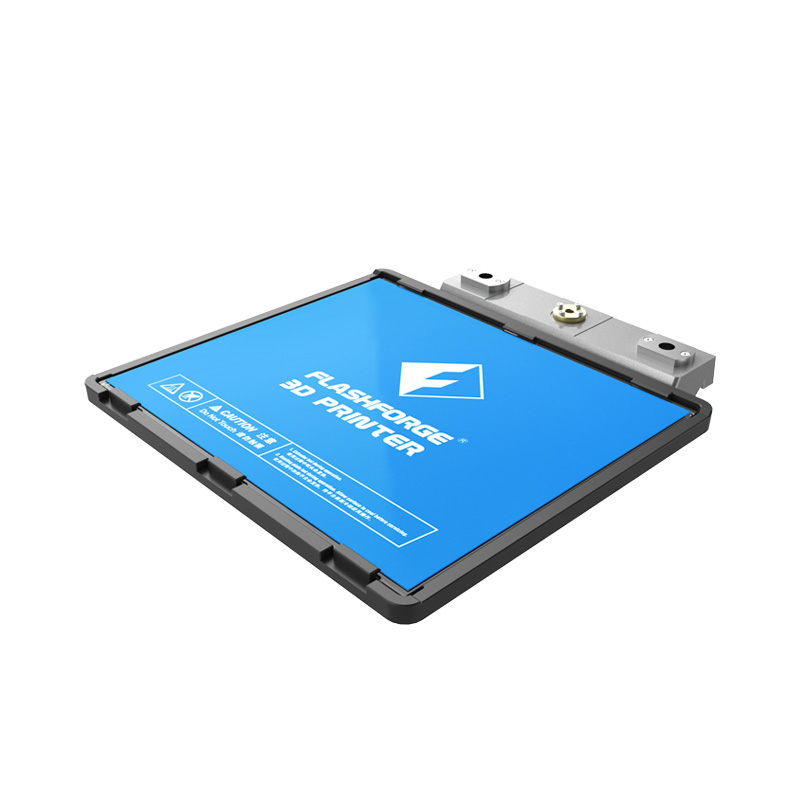
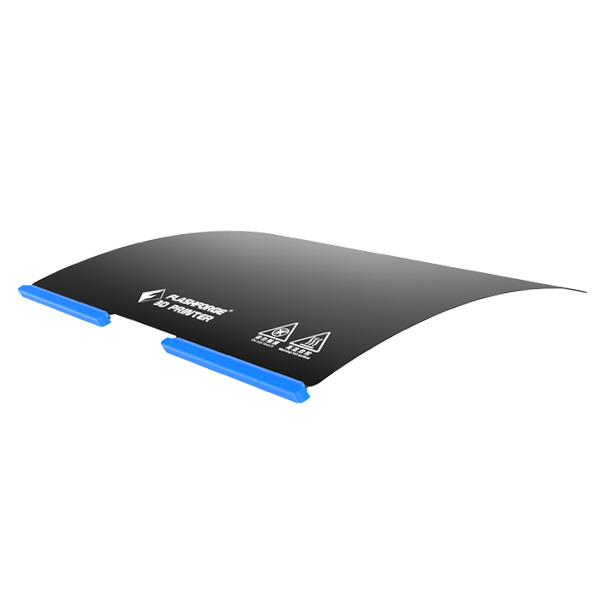
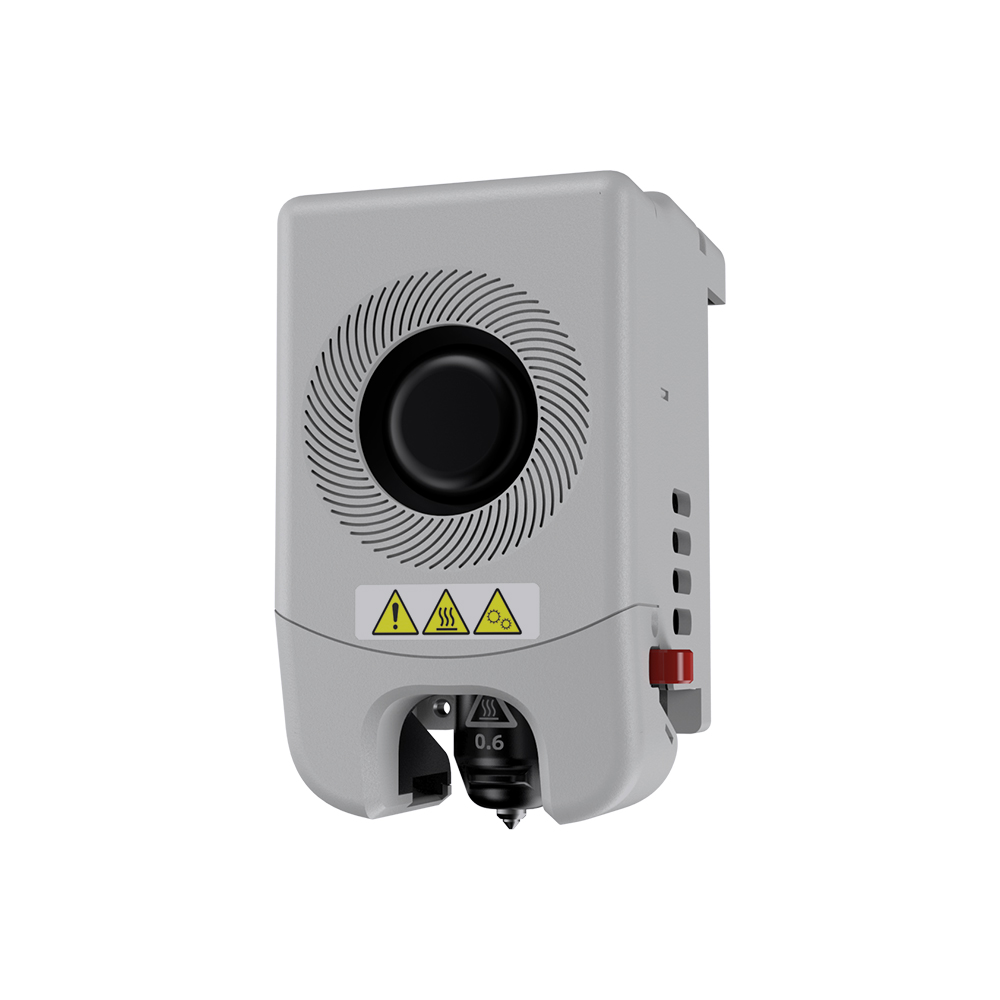
FlashForgeShop Adventurer 3 3D Printer
Unclogging the nozzle of FlashForgeShop Adventurer 3 3D Printer:
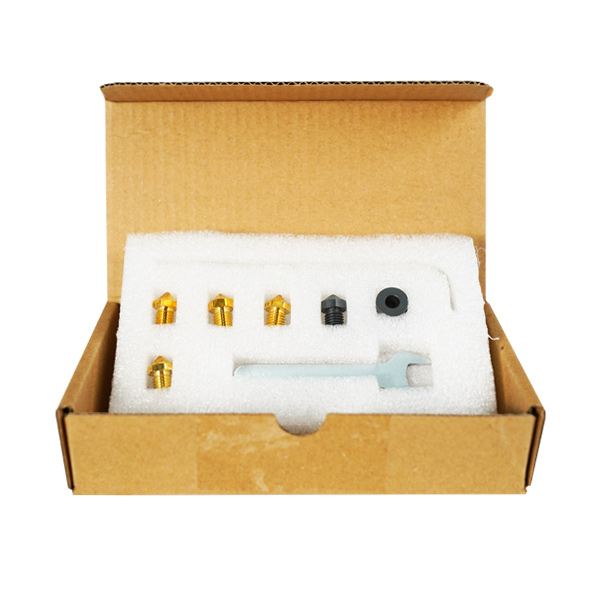
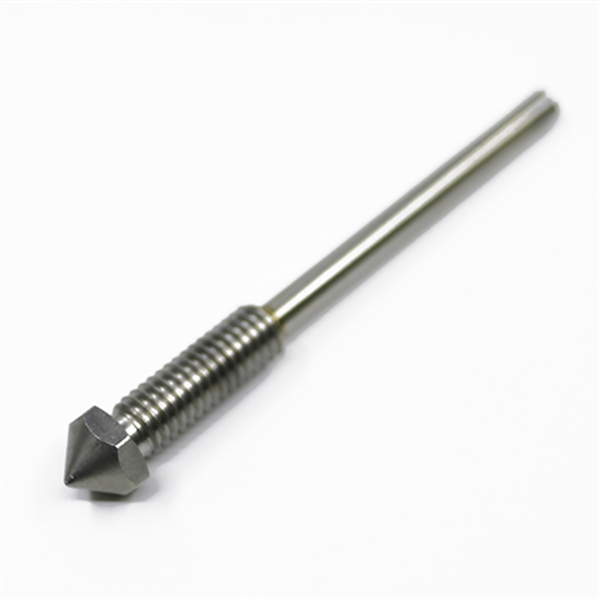
- Before starting the unclogging process, you will need a 3D printing toolkit. Toolkit will contain a de-clogging needle, needle nose plier and side cutter.
- The next step is to unload the filament of your 3D printer using a touch screen interface.
- Allow the 3D printer to reach the desired temperature and complete the unloading cycle.
- Remove the filament from the driver’s motor and open the door of the 3D printer by applying a suitable pressure on it.
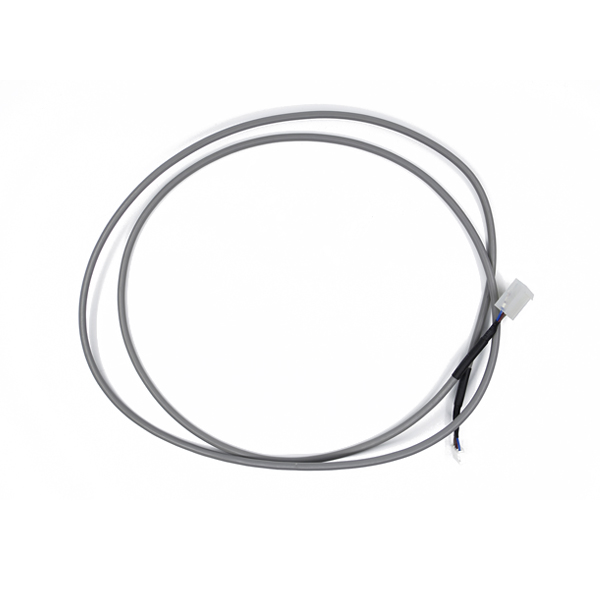
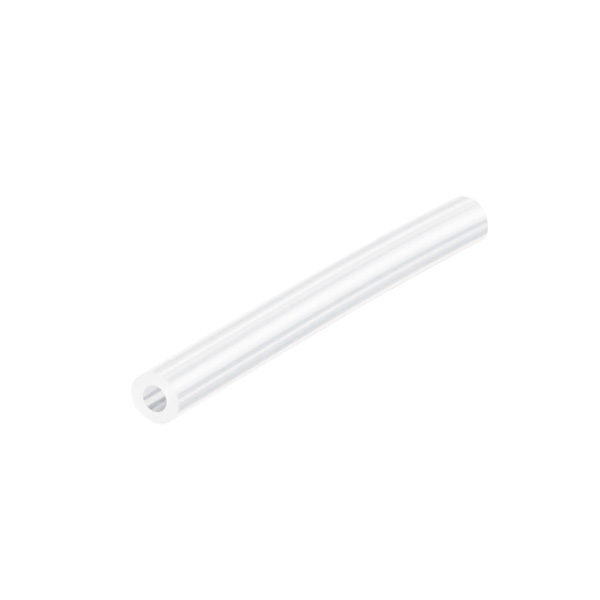
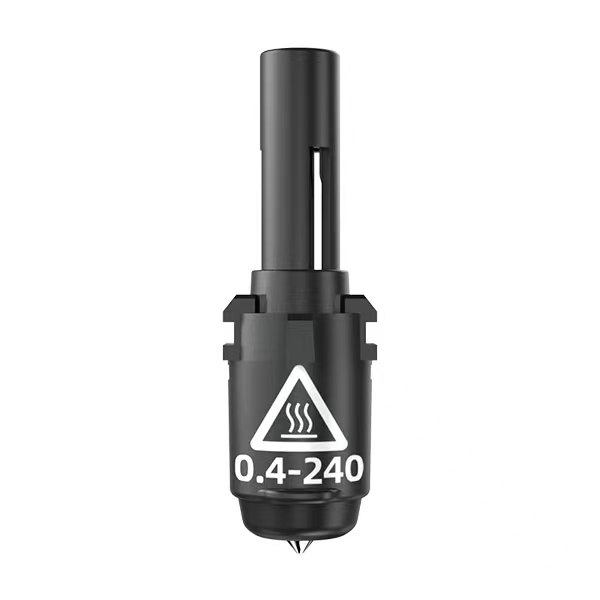
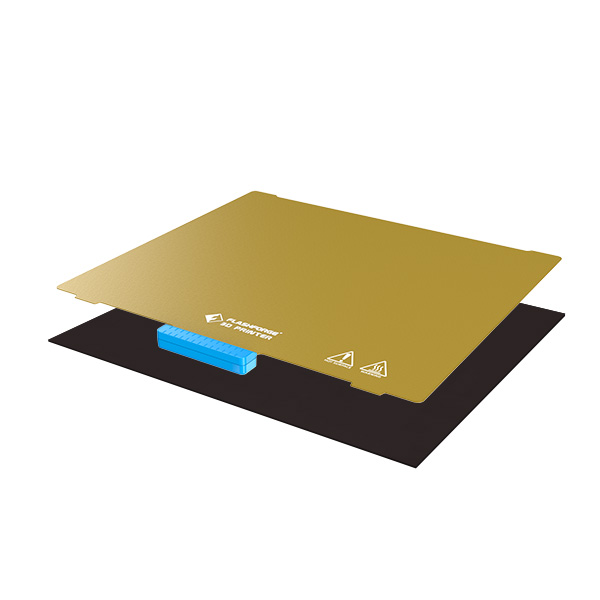
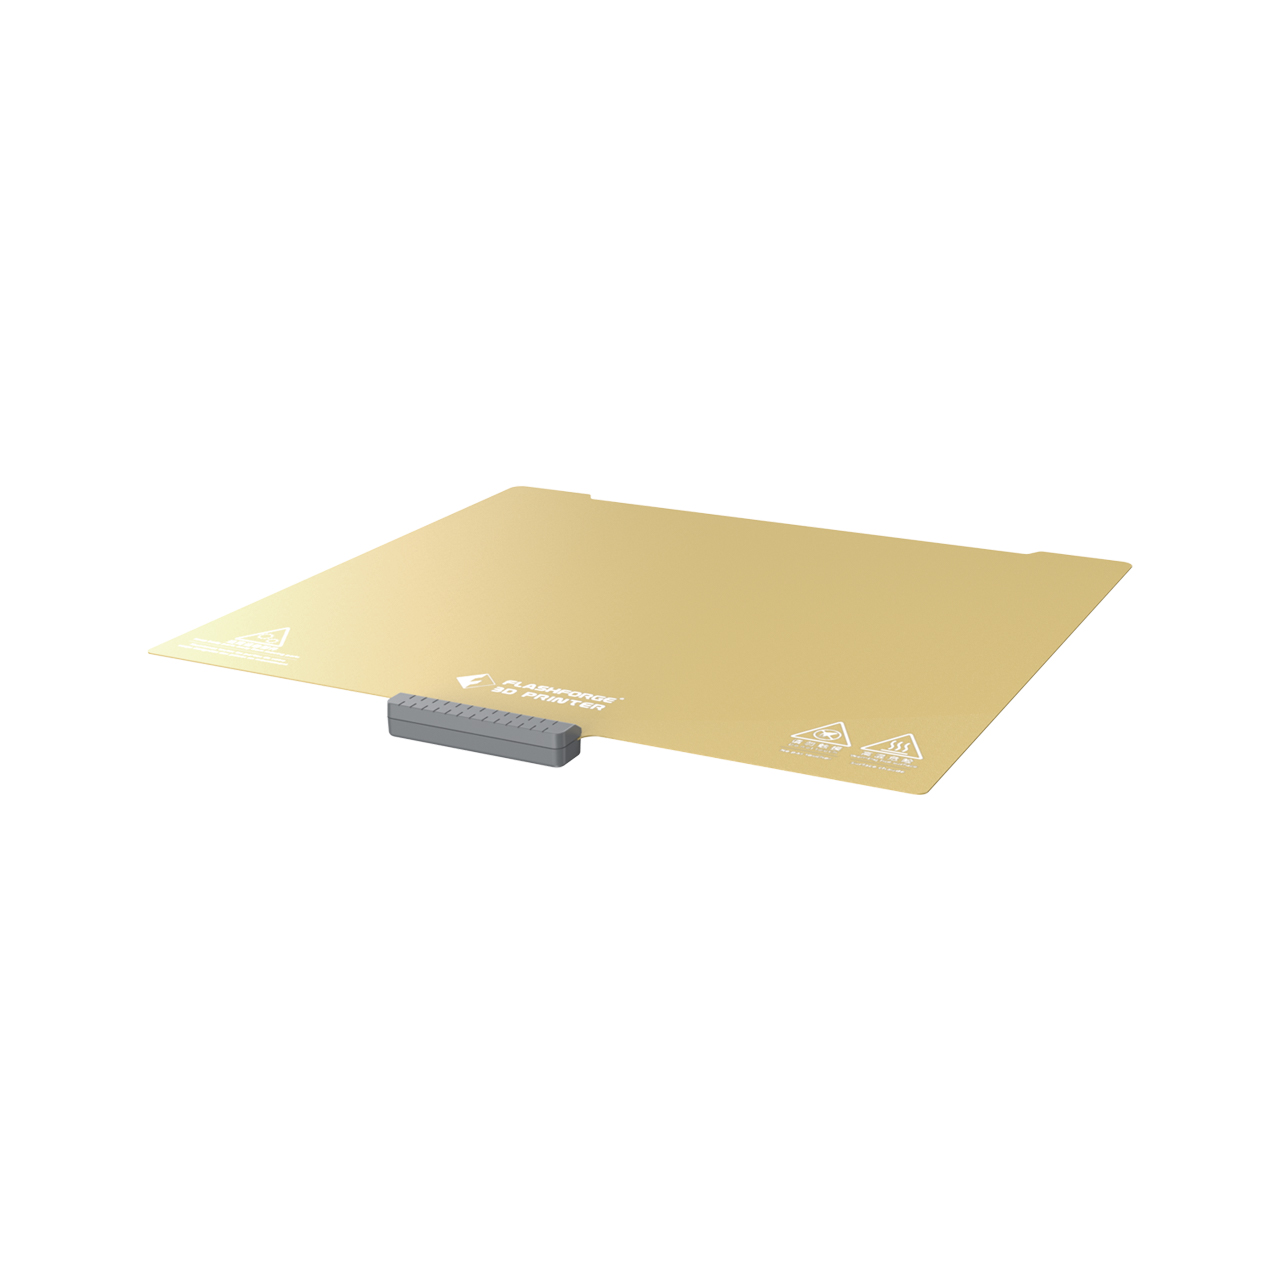
- The next step is to preheat the 3D printer. De-select the platform and allow the extruder to heat to a temperature of 220°C. While this is happening, remove the Bowden tube carefully.

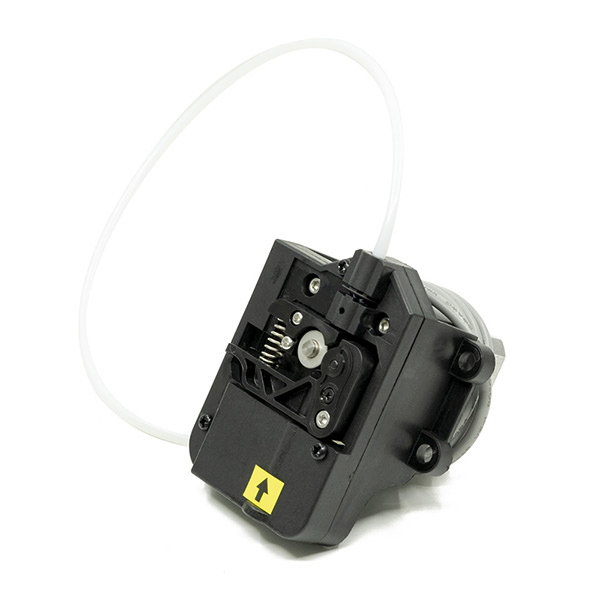
Removing the Bowden tube from extruder of Adventurer 3
- Now take the unclogging need and push it down firmly at the right angle from the top. It will push down the remaining filament through the nozzle. Do not touch the declogging tool with bare hands as it can be very hot.
- Use the needle nose pliers to scrub the clog from the declogging tool. You can remove the remaining filament with fingers when the declogging tool has turned cold.

Using Needle to push the remaining filament through the Adventurer 3 nozzle
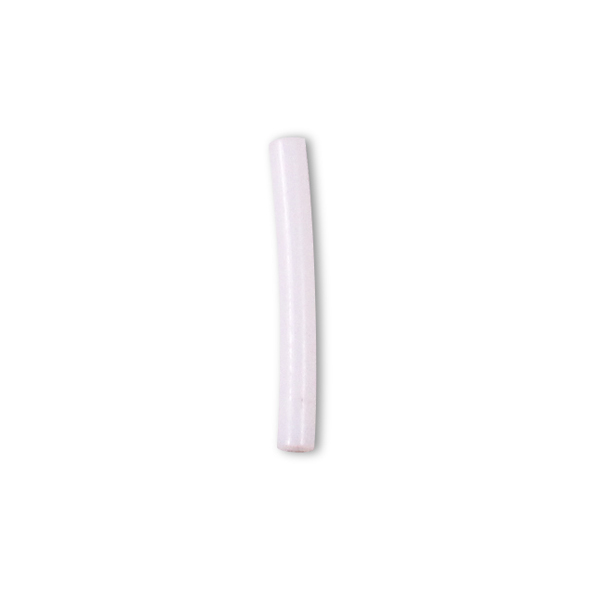
- Now take a fresh and short piece of filament of different color, push it down into the hot end and remove the excess filament from the bottom using a side cutter.
- Now lower the preheat temperature to around 80°C using the touch screen control panel. Note that the filament should be in place while you are doing this. This method is known as cold pool.
- The filament will take the shape of the interior of the nozzle and when it reaches a temperature of 80°C, it will still be pliable but not completely liquid. Now pull the filament from the hot end directly upward and take it out.
- Cancel the preheat option from the touch screen control panel and load the filament. Also make sure to reinstall the Bowden tube.
- Trim the filament to make its end smoother and allow the filament to reload.
- A small amount of different colored filament should be observed that was used in the beginning of extrusion and filament should start feeding out.
Concluding how to clear a clog in hot end of 3d printer
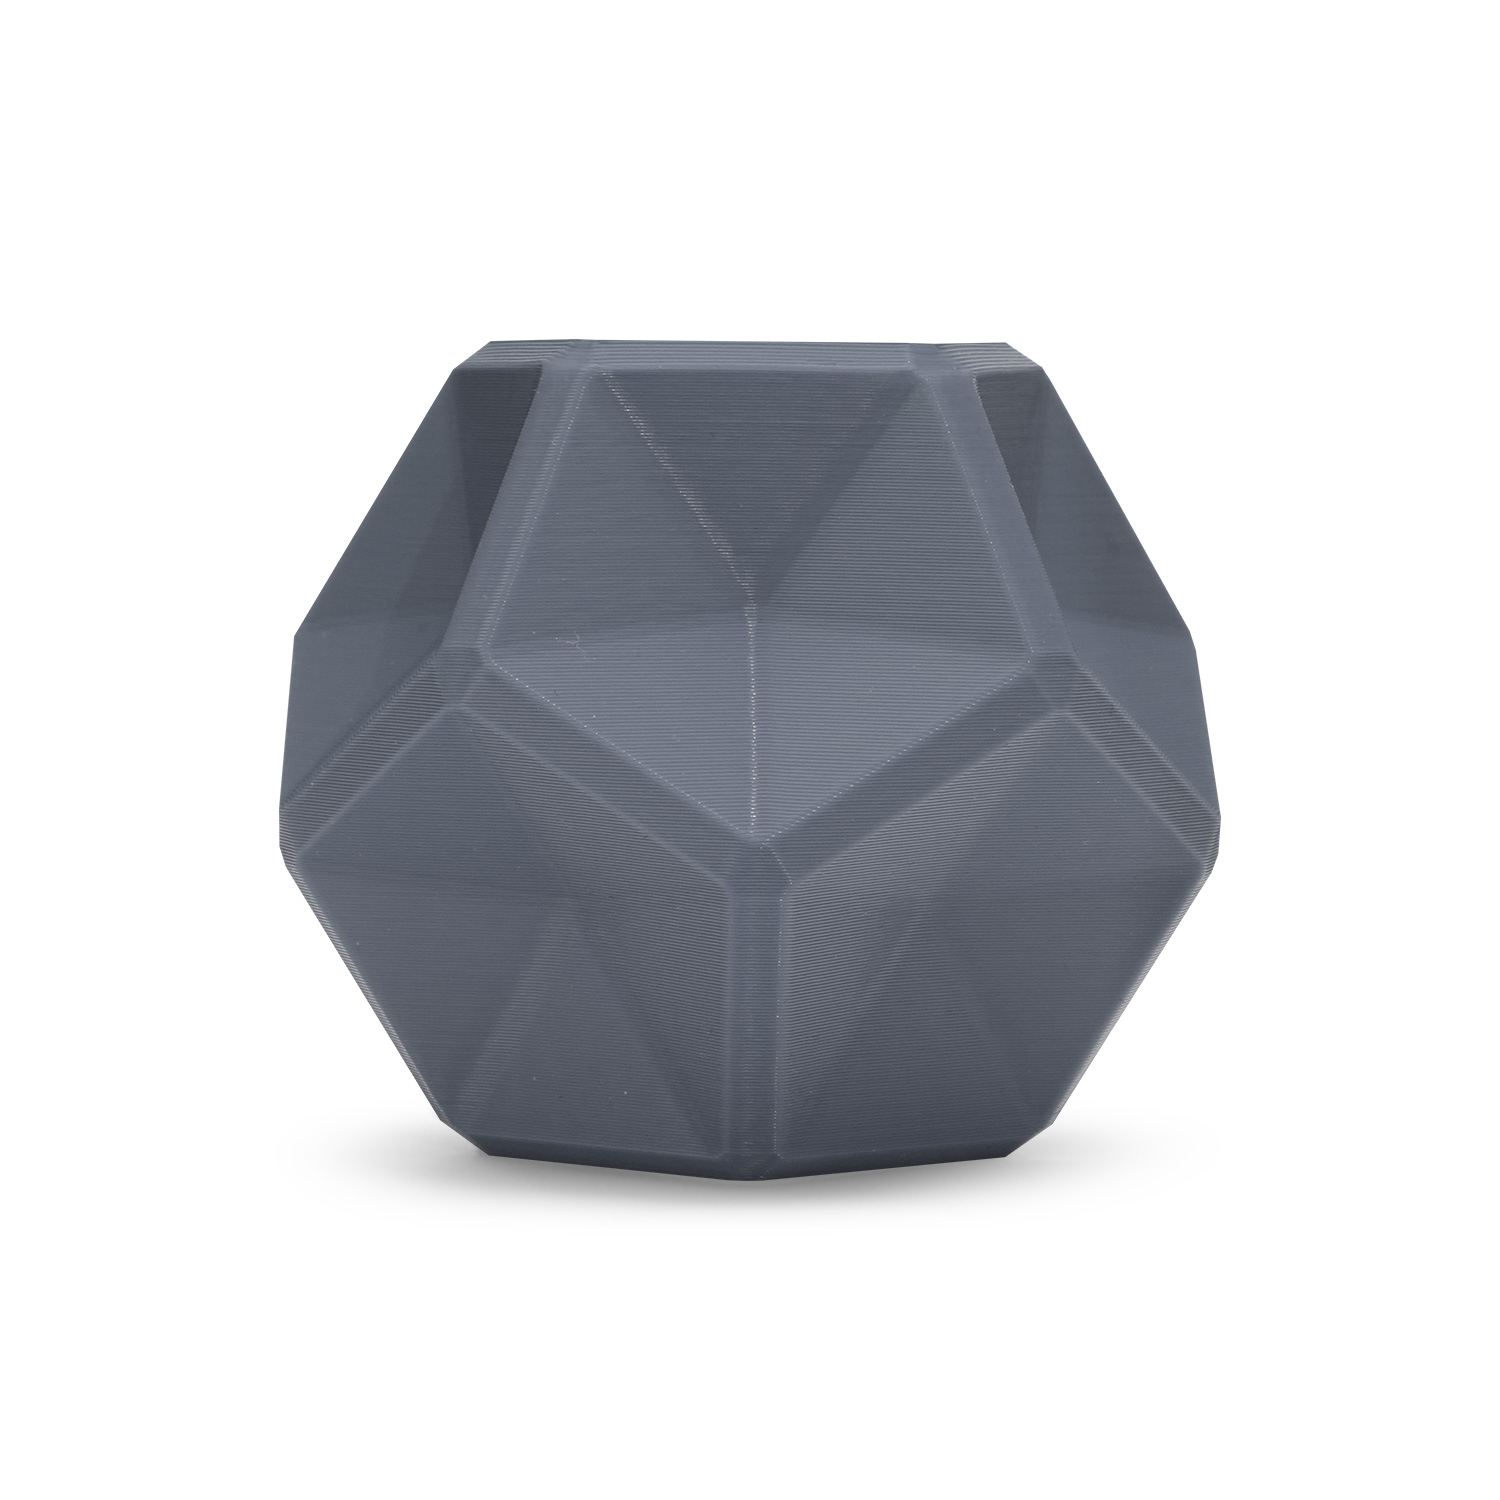
A 3D printer uses different types of materials to create three dimensional objects and parts. These objects are created by heating the filament in the extruder which is then pushed through the nozzle of the printer onto the printer's bed.
The material that passes through the printer’s nozzle can get stuck in the nozzle blocking the passage of filament completely or partially. The clogging can happen due to different reasons and few of them are old and overused nozzles, incompatible heating temperature and dirty or damaged nozzles.
If the nozzle of the 3D printer is clogged, it will affect the print quality in a negative way and hence unclogging of the nozzle is required to regain the printer’s performance. For how to clear a clog in hot end of 3d printer, the de-clogging is done using a de-clogging toolkit that contains simple handheld instruments. The process to unclog the printer is very simple and the procedure can be carried out at home by consulting the user manual of the printer.


