


As a child, Sarah always loved creating things with her hands. Whether it was molding clay or building towers out of blocks, she found joy in bringing her imagination to life.
Fast forward to present day, and she discovered the world of 3D printing and designing with Blender. She was amazed at the endless possibilities and the ability to create complex designs that were once impossible. However, she quickly realized that there was a steep learning curve and she struggled to get the results she wanted. That's when she stumbled upon the Ultimate Blender 3D Printing Tutorial, which changed everything. In this tutorial, she learned the tips and tricks to design and print like a pro, and she's excited to share them with you.
So, whether you're a beginner or an experienced designer, join us on this journey to master the art of 3D printing with Blender.
What is Blender 3D printer software?
Blender is a free and open-source 3D creation software that can be used for a variety of purposes, including 3D printing. It allows users to create and edit 3D models, and also includes features such as animation, rigging, and texturing.
Blender has become a popular choice for 3D printing enthusiasts due to its versatility and ease of use. With the ability to import and export various file formats, including STL and OBJ, Blender is a great choice for those looking to design and 3D print their creations. In addition, its extensive community of users provides access to a wealth of tutorials and resources for beginners and experts alike.
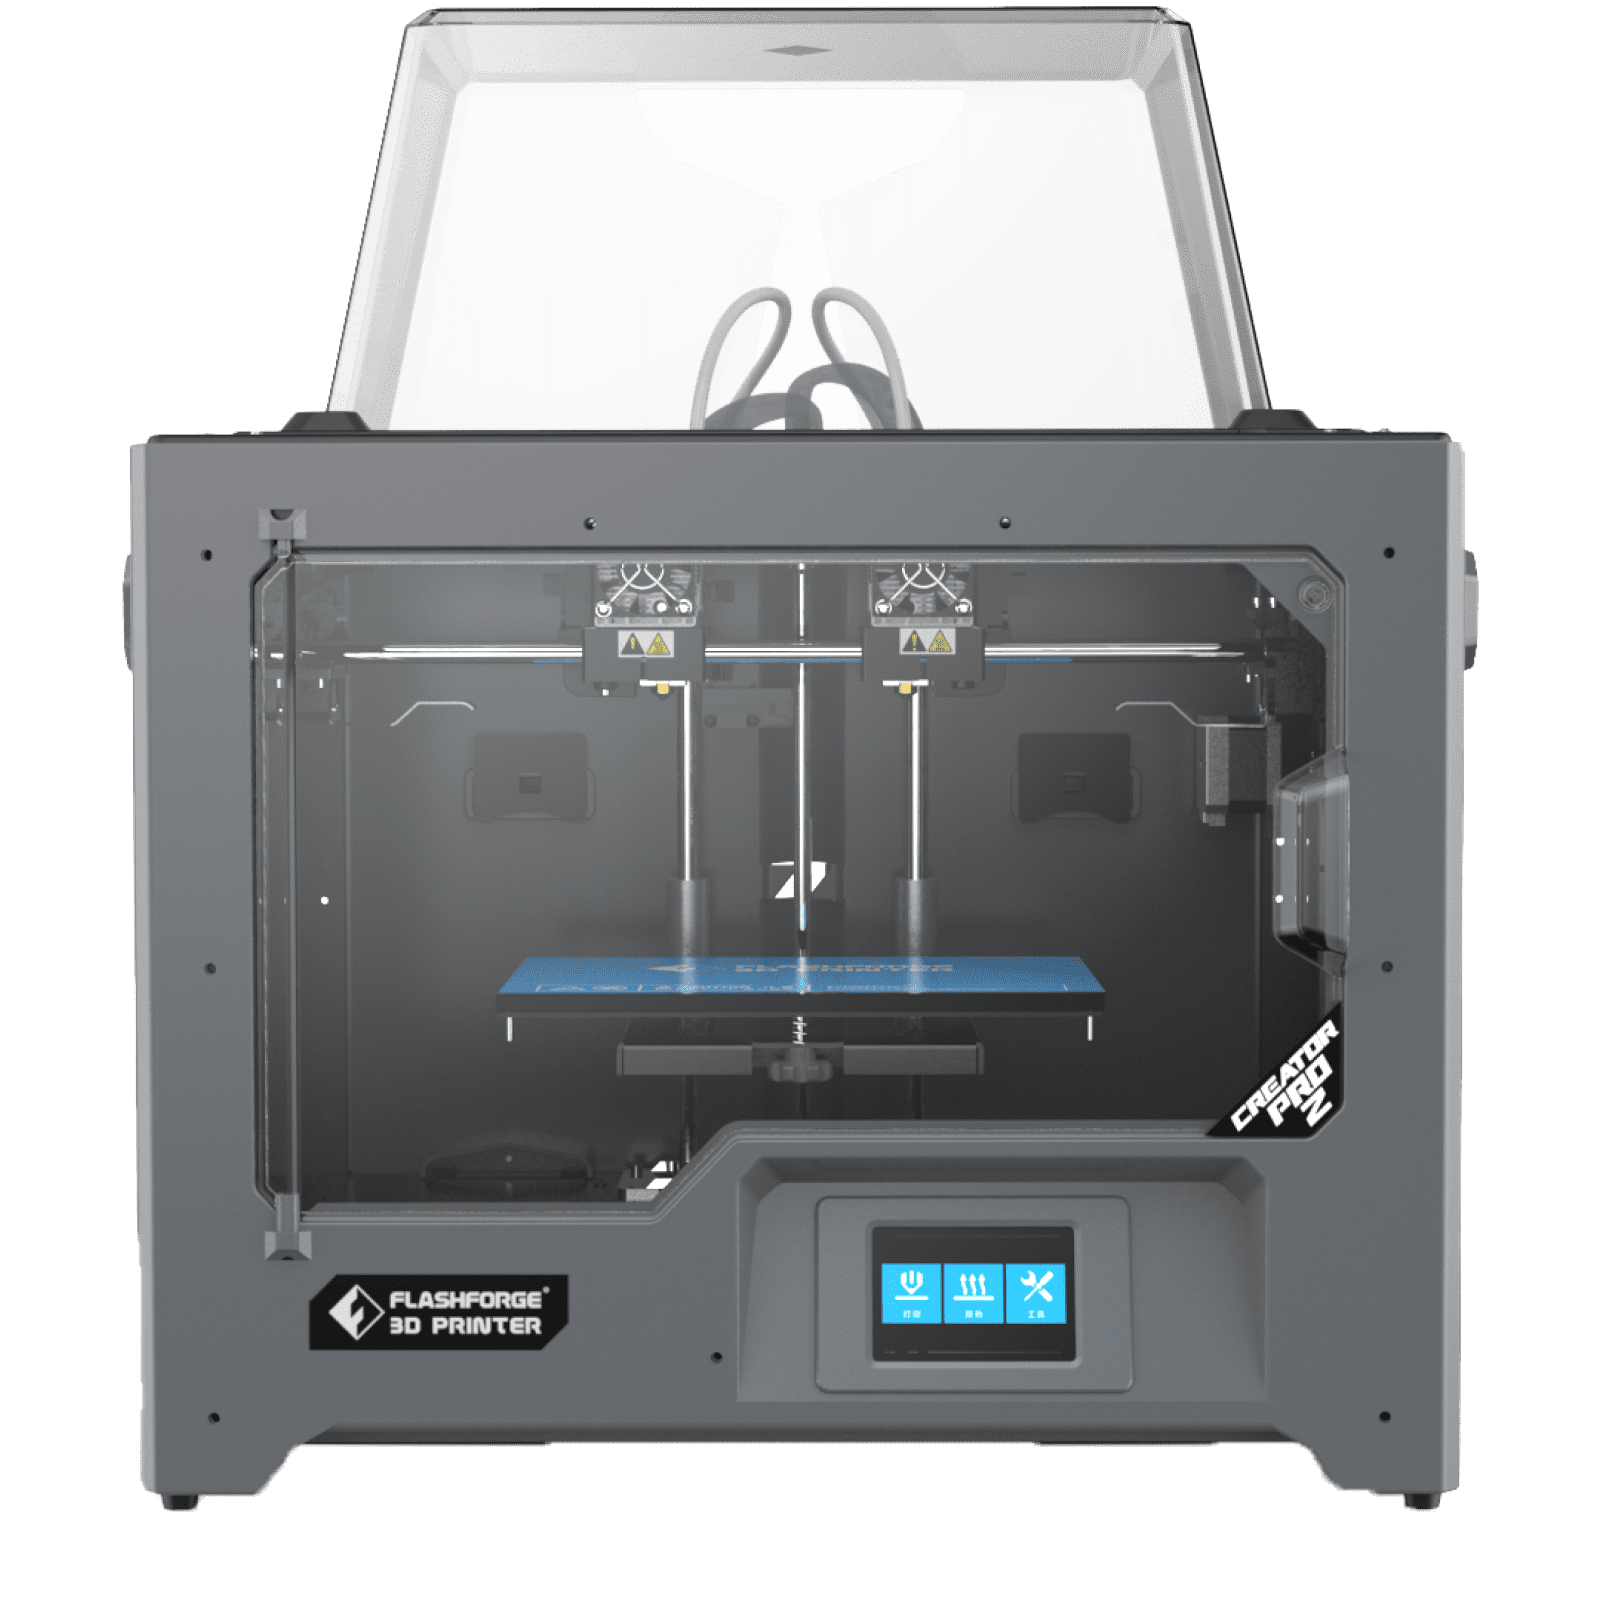
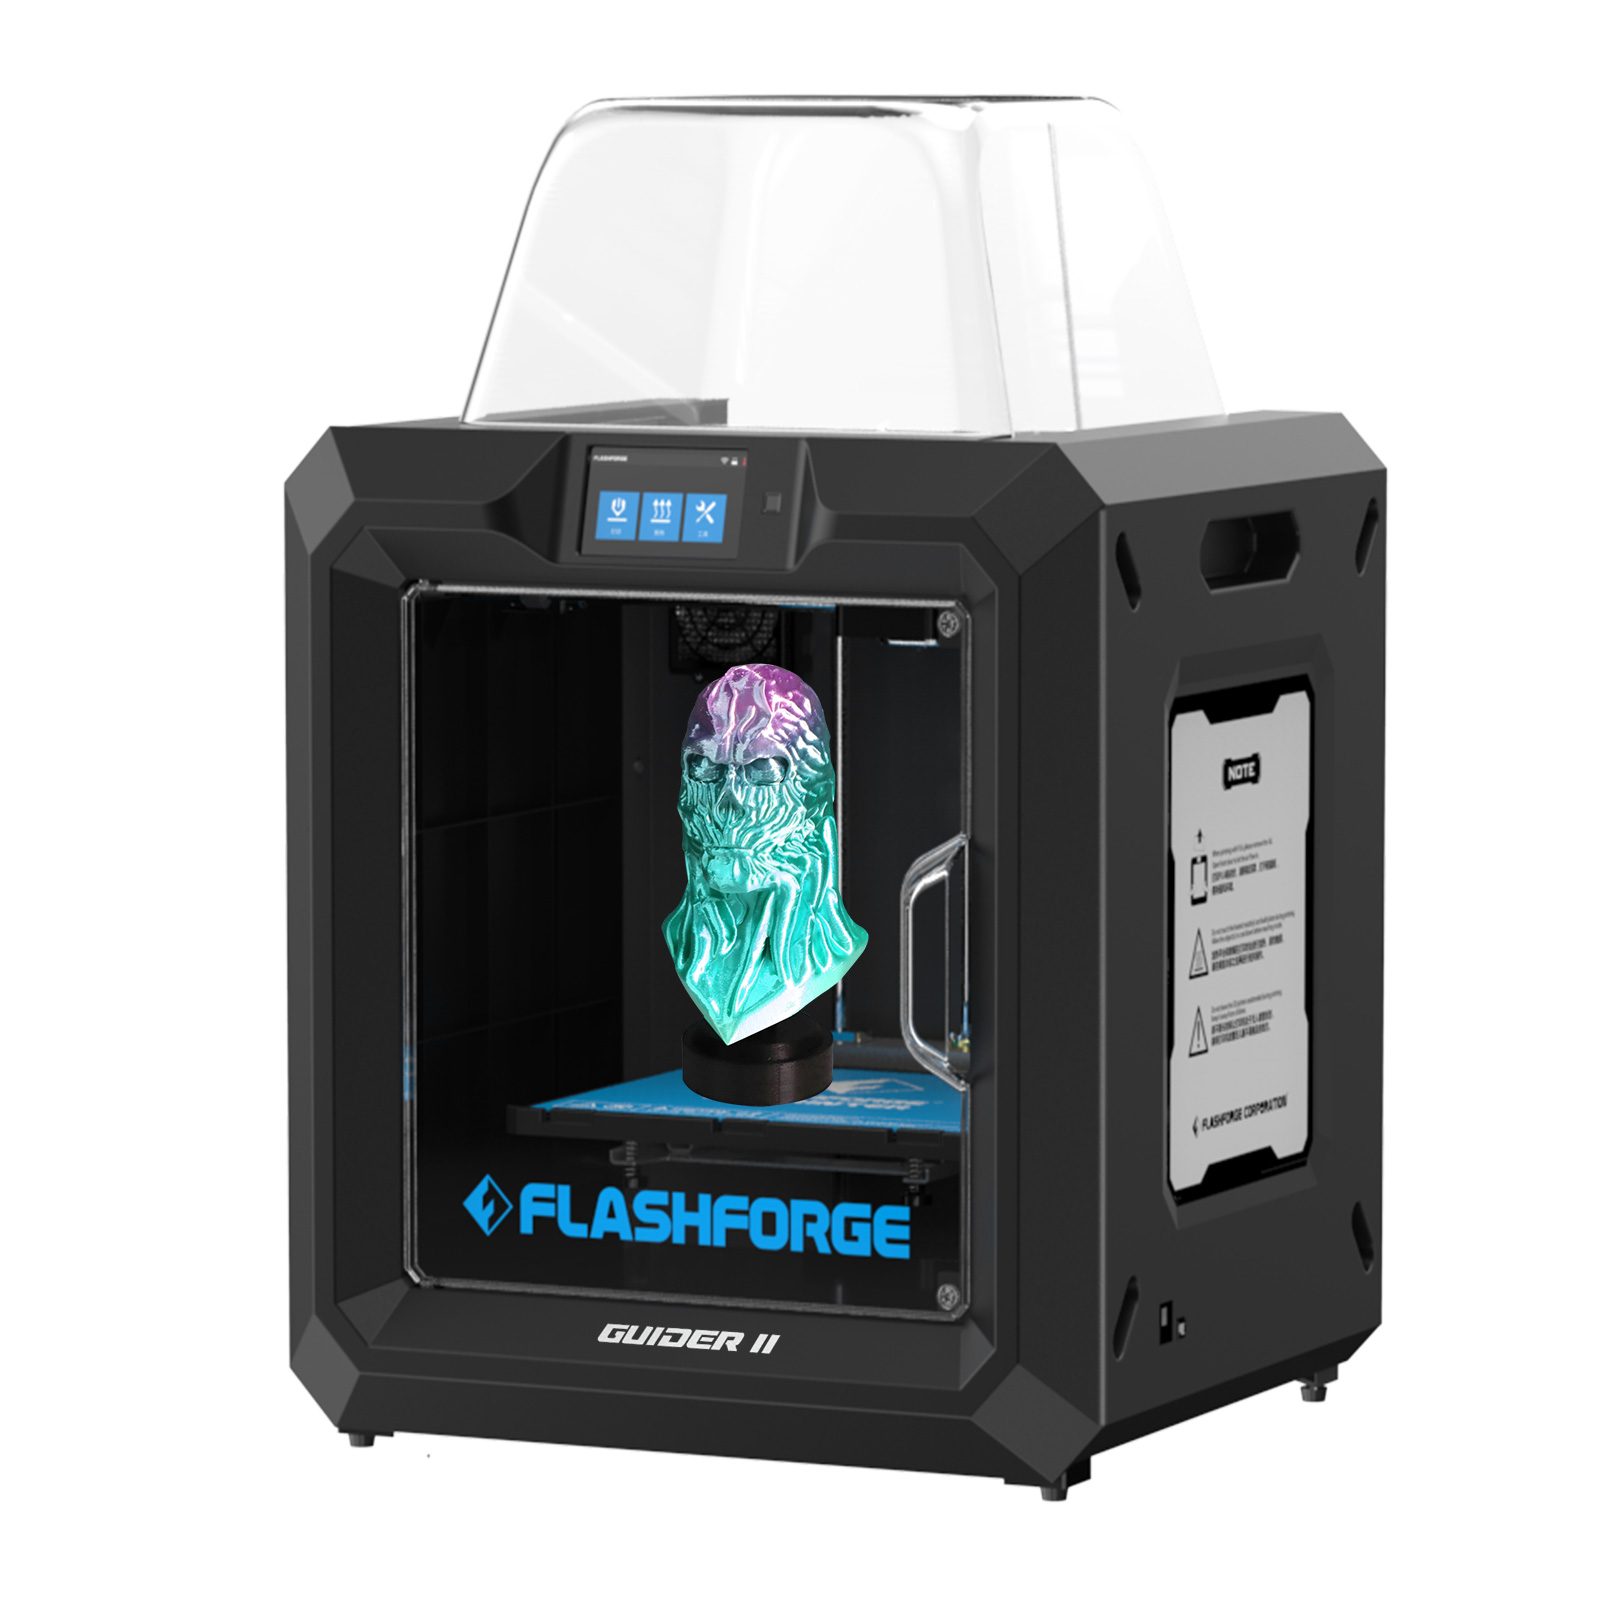
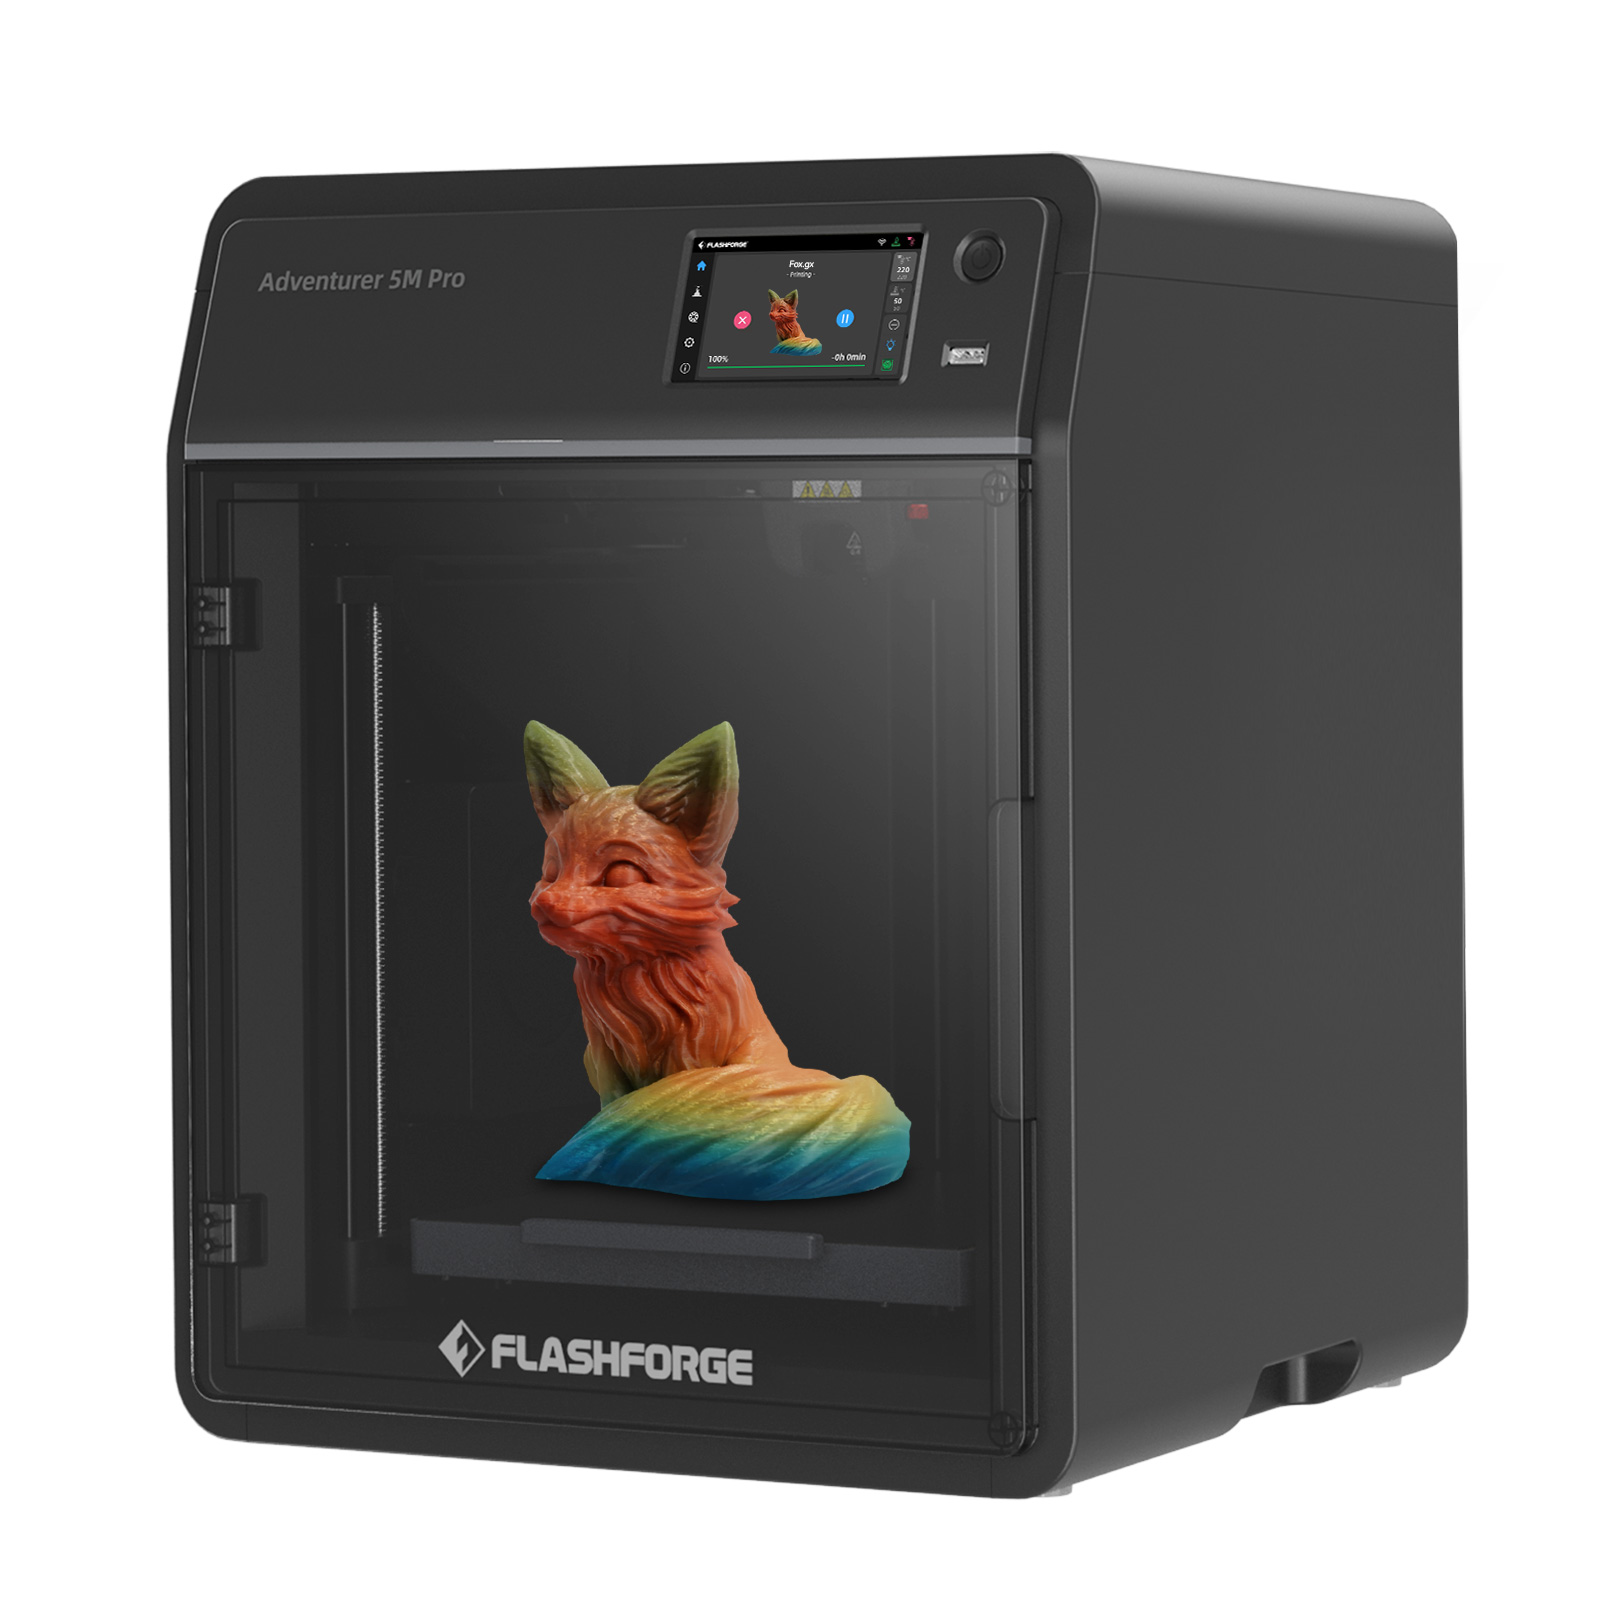
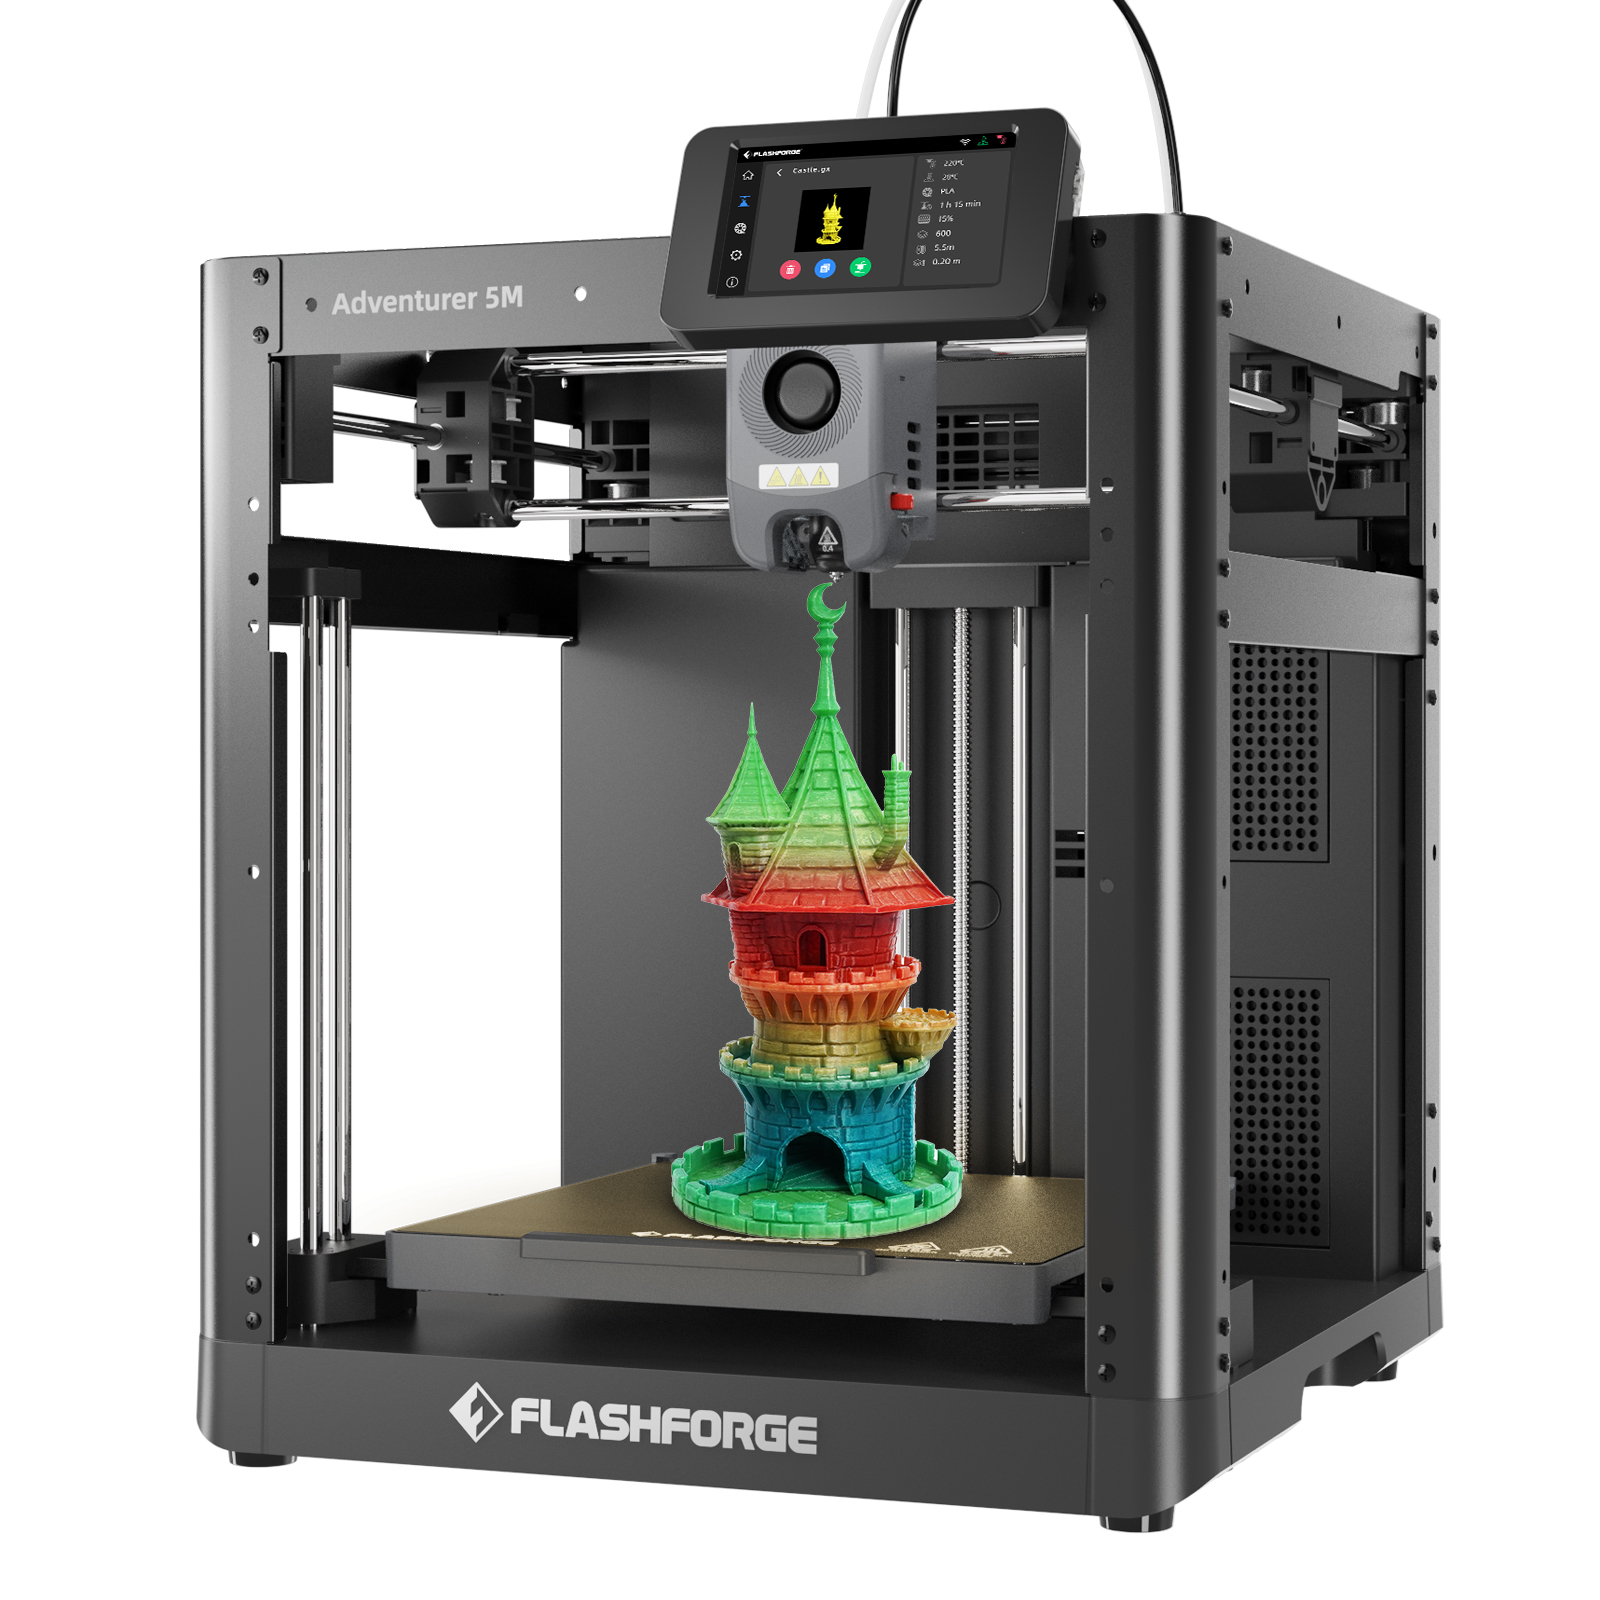
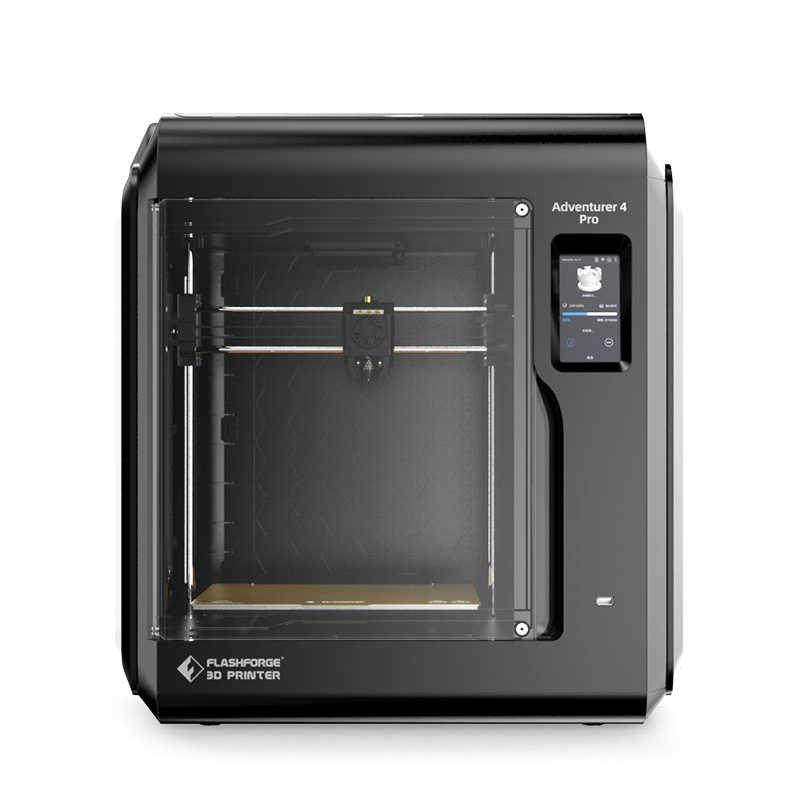
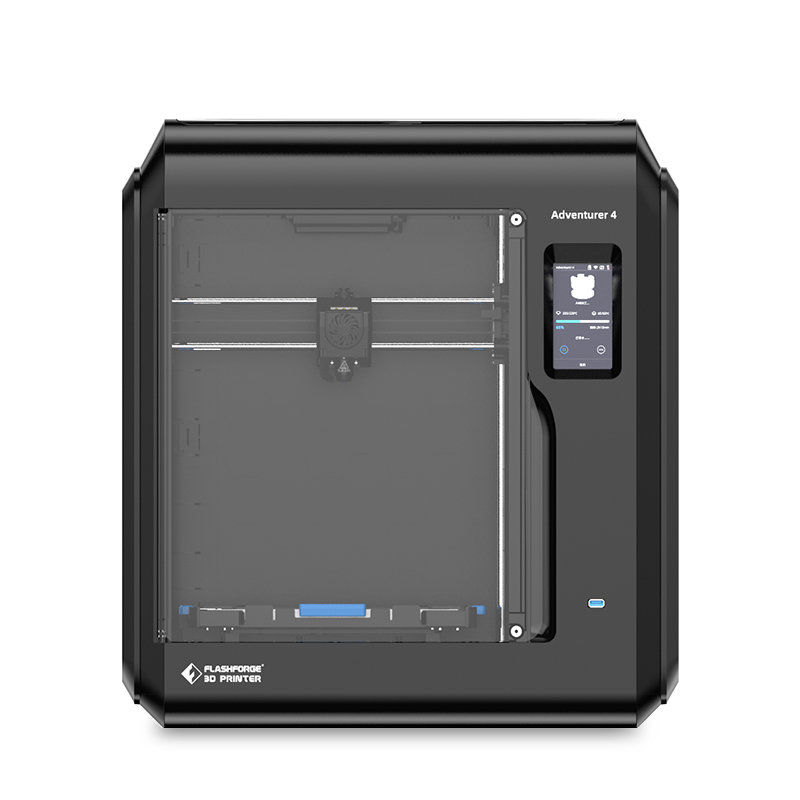
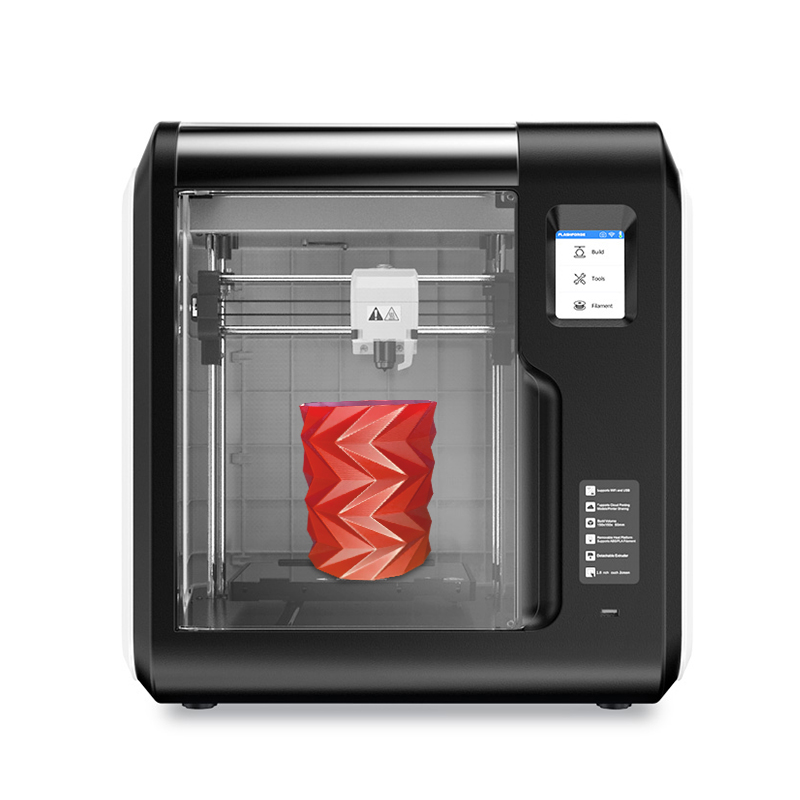
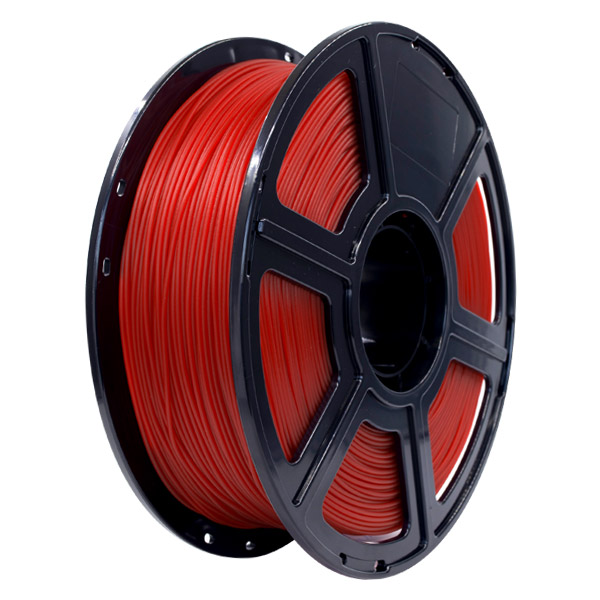
This software can be used with any of the open-sourced Flashforge 3D Printers such as Flashforge Creator Pro, Guider II and Adventurer 4.

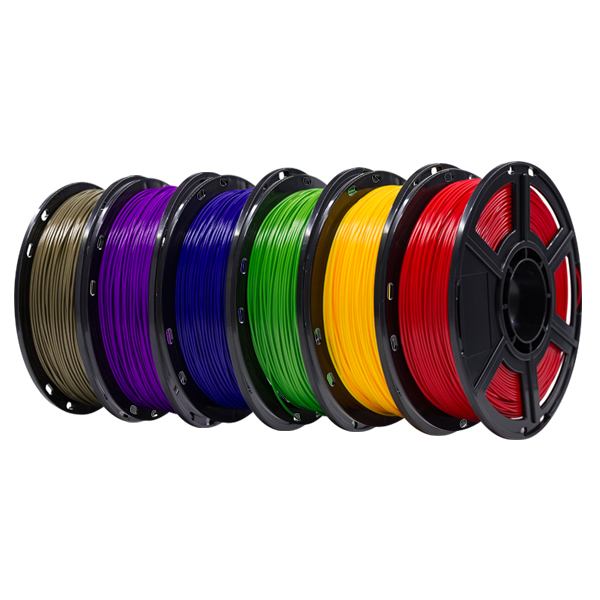
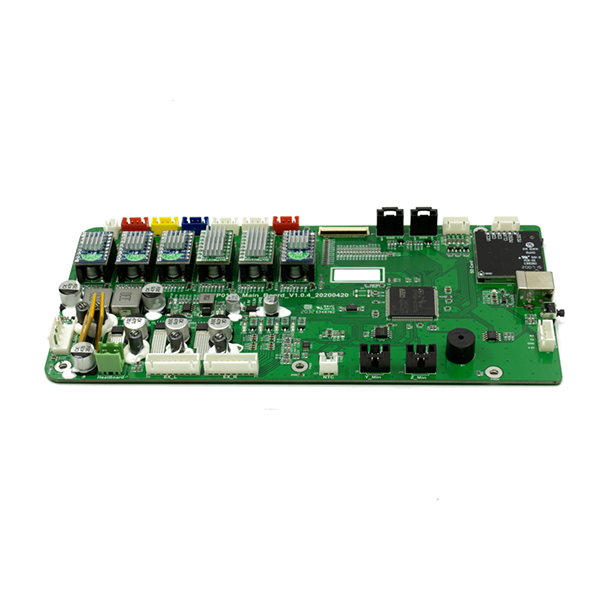
Blender Software
How to get started with Blender 3D Printing software?
When it comes to 3D printing, having the right tools and software can make all the difference. Blender is a powerful open-source software that can be used for both 3D modeling and 3D printing. But before you can start creating your designs, it's important to set up Blender 3D printing. This includes configuring the correct units and measurements, as well as installing any necessary plugins or addons.
In addition to the technical setup, it's also important to have a basic understanding of 3D modeling tools and techniques. This can include creating basic shapes, manipulating vertices, and using modifiers to achieve complex designs. Understanding these fundamentals can make the design process much smoother and efficient.
Advanced Modeling techniques
Once you've got a handle on the basics of 3D modeling with Blender, you can dive into more advanced techniques to create more intricate and detailed designs.
Using modifiers can speed up the modeling process and give you the ability to add details, create smooth surfaces, and more.
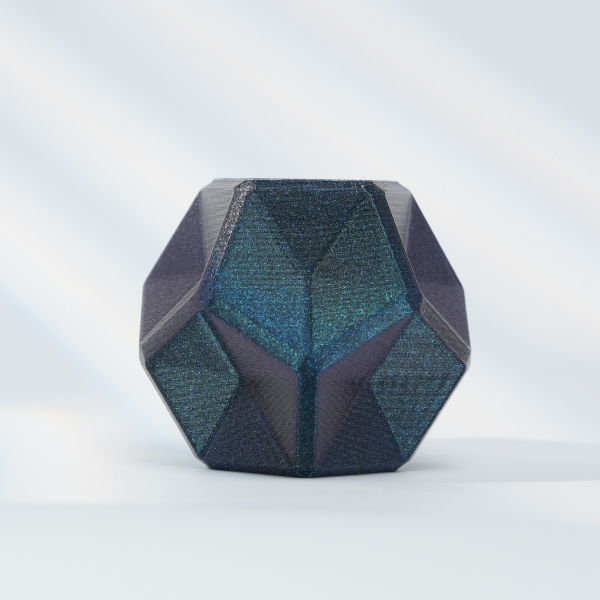
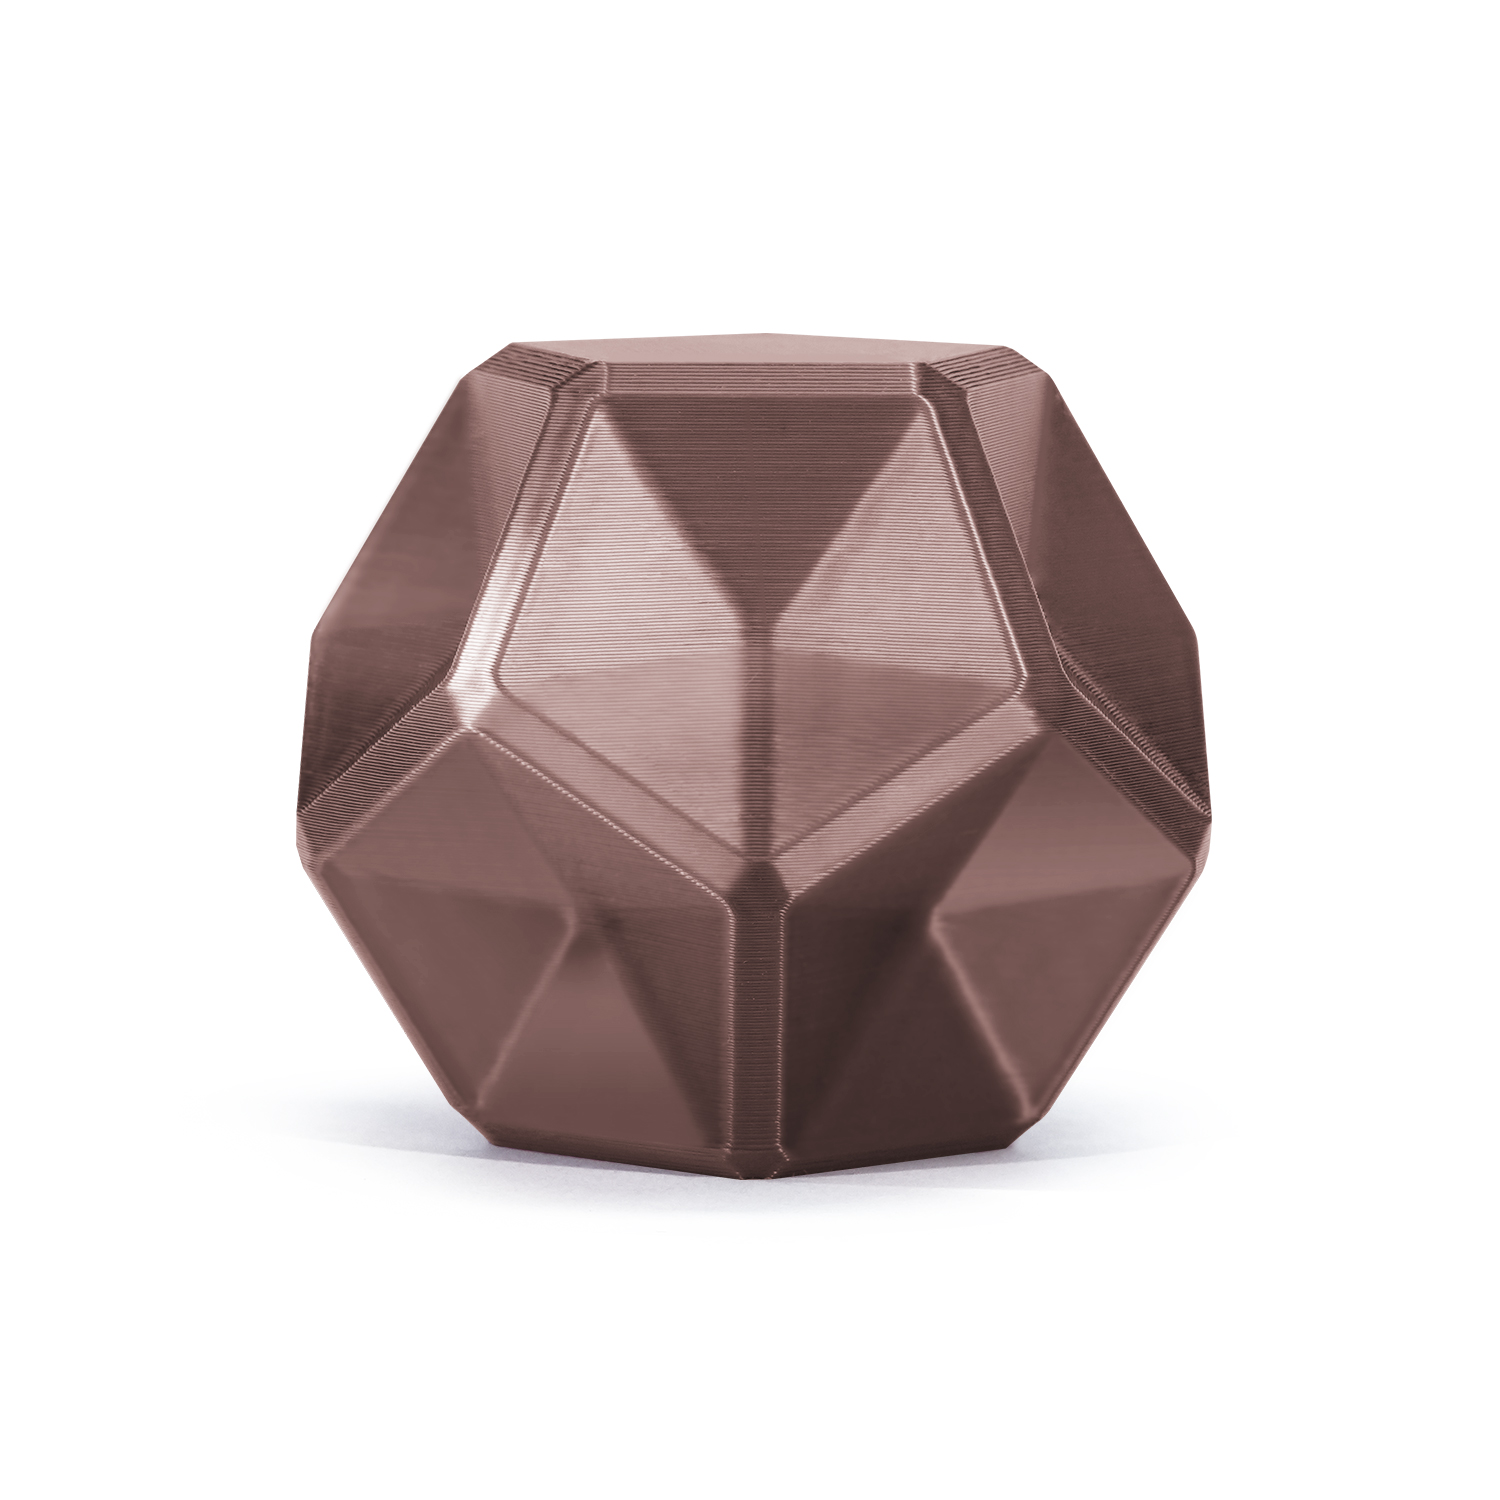
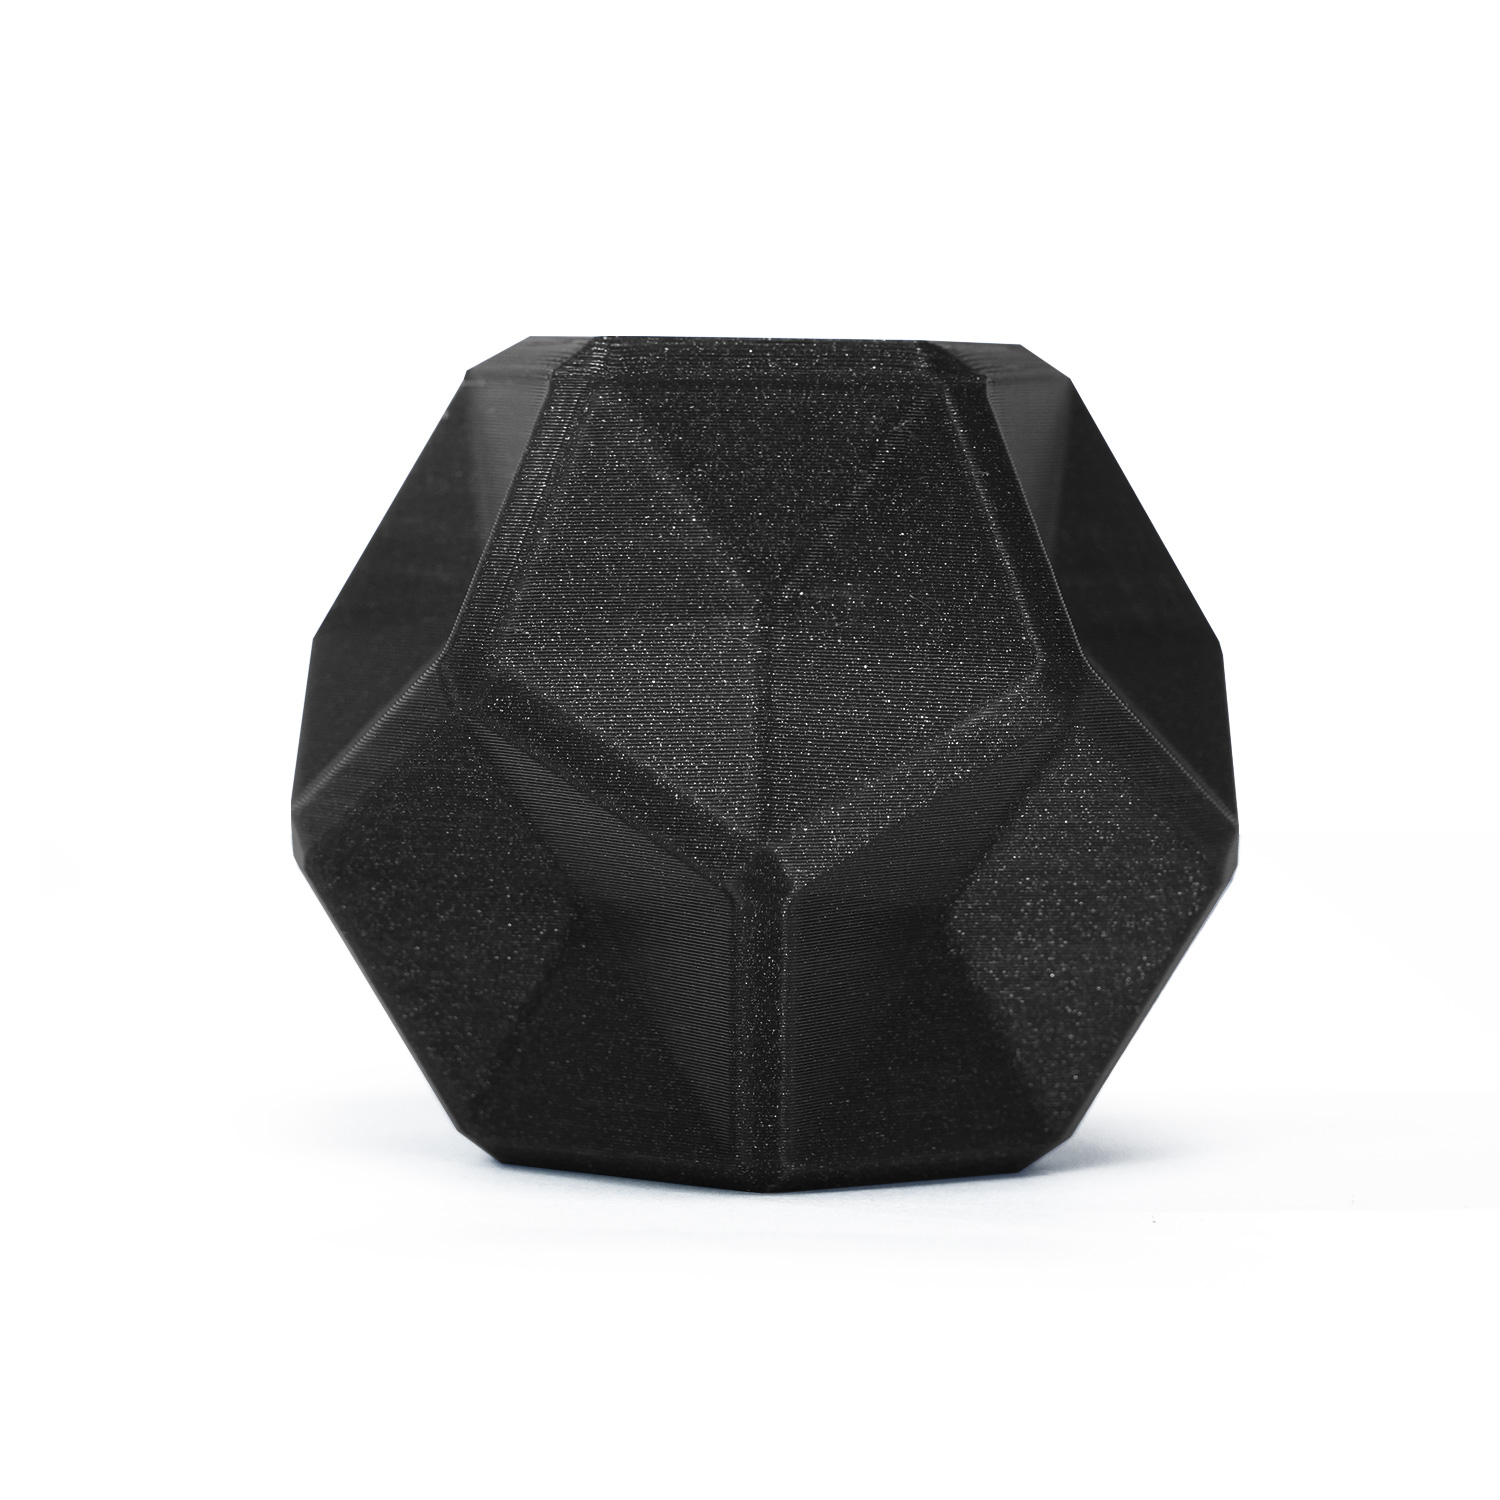
For example, when creating a ship model, you can use the array modifier to quickly create multiple copies of the same object and the mirror modifier to easily create symmetrical designs. The sculpting tools in Blender also allow you to create complex shapes for your ship's hull or other details. Adding textures and other details can also enhance your model, such as using a wood texture for the ship's deck. With these advanced techniques, you can create a highly-detailed ship model that is ready for 3D printing.
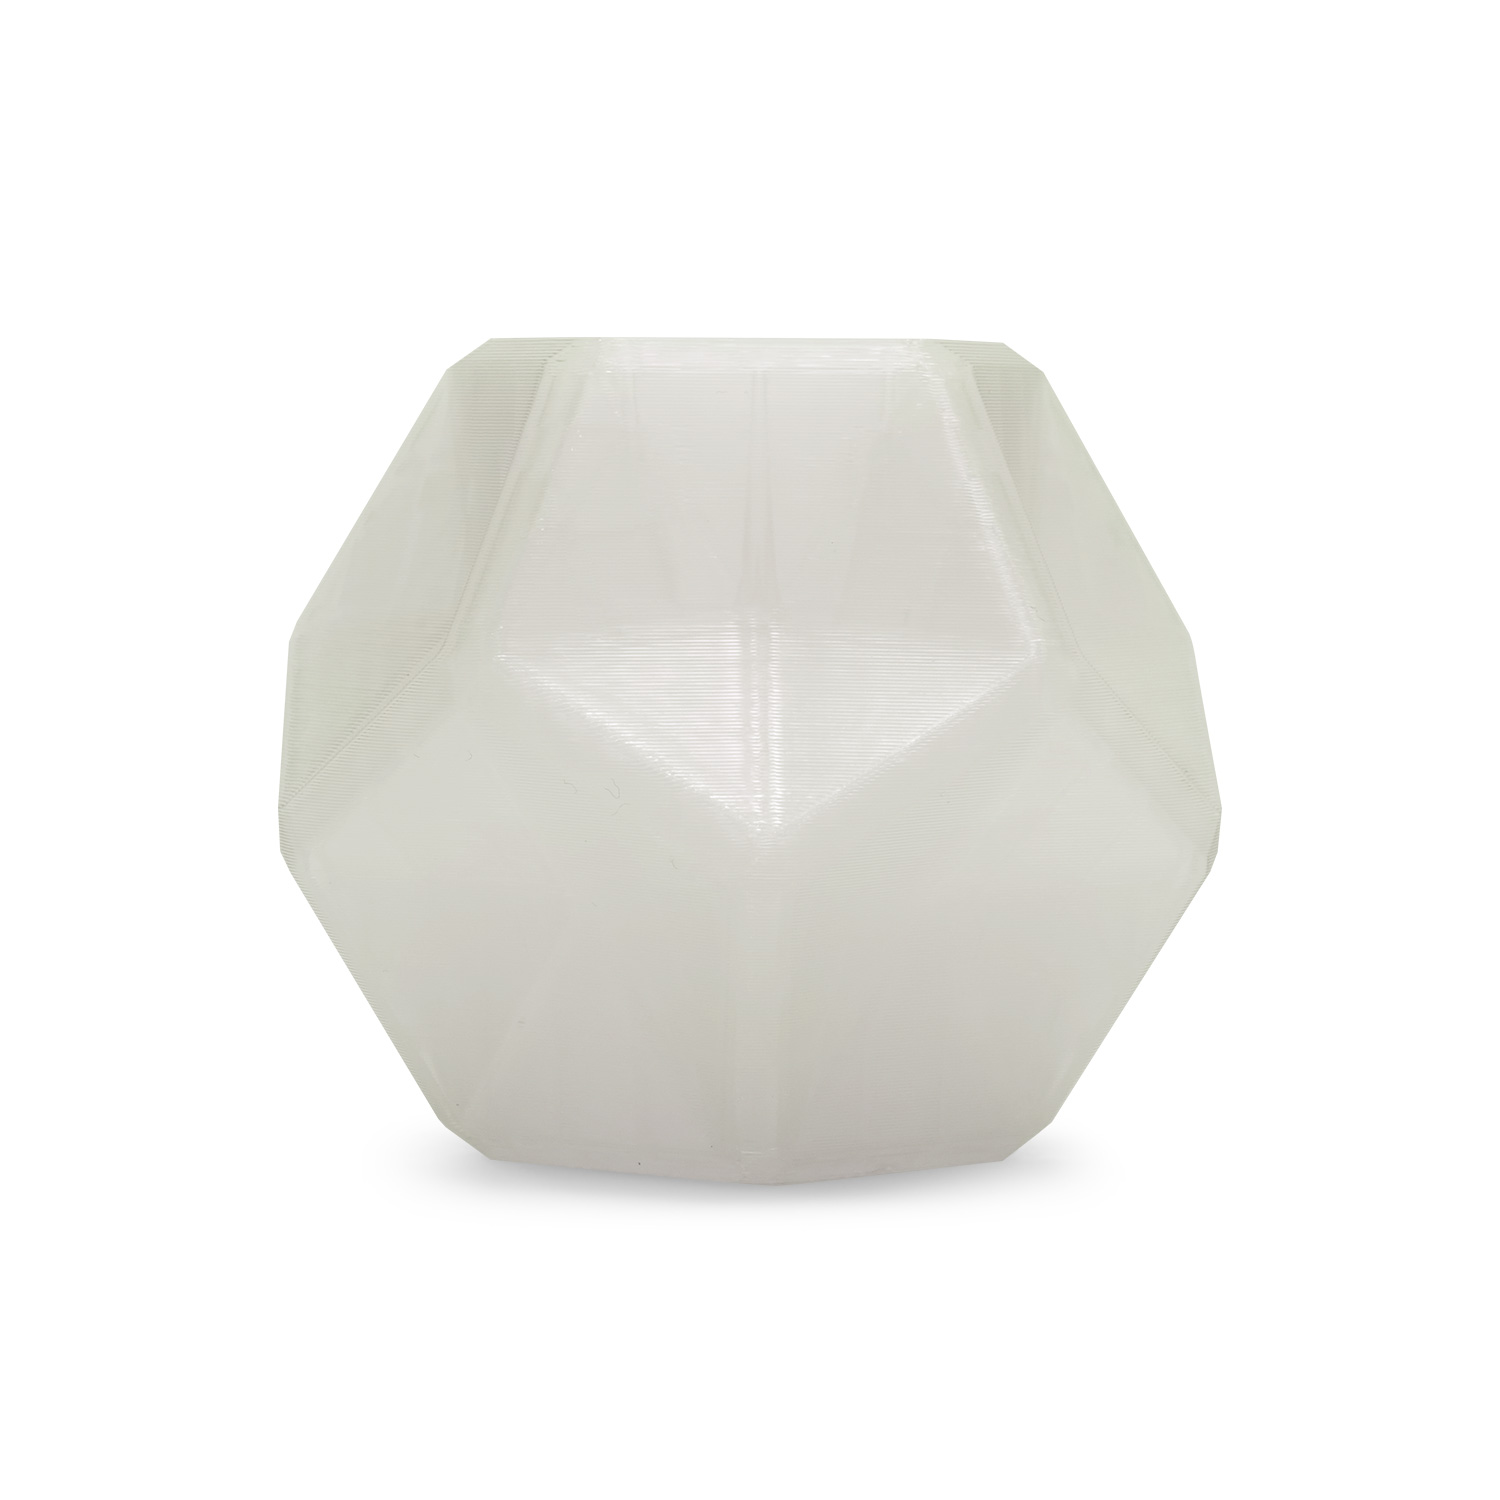
Preparing your model for 3D printing
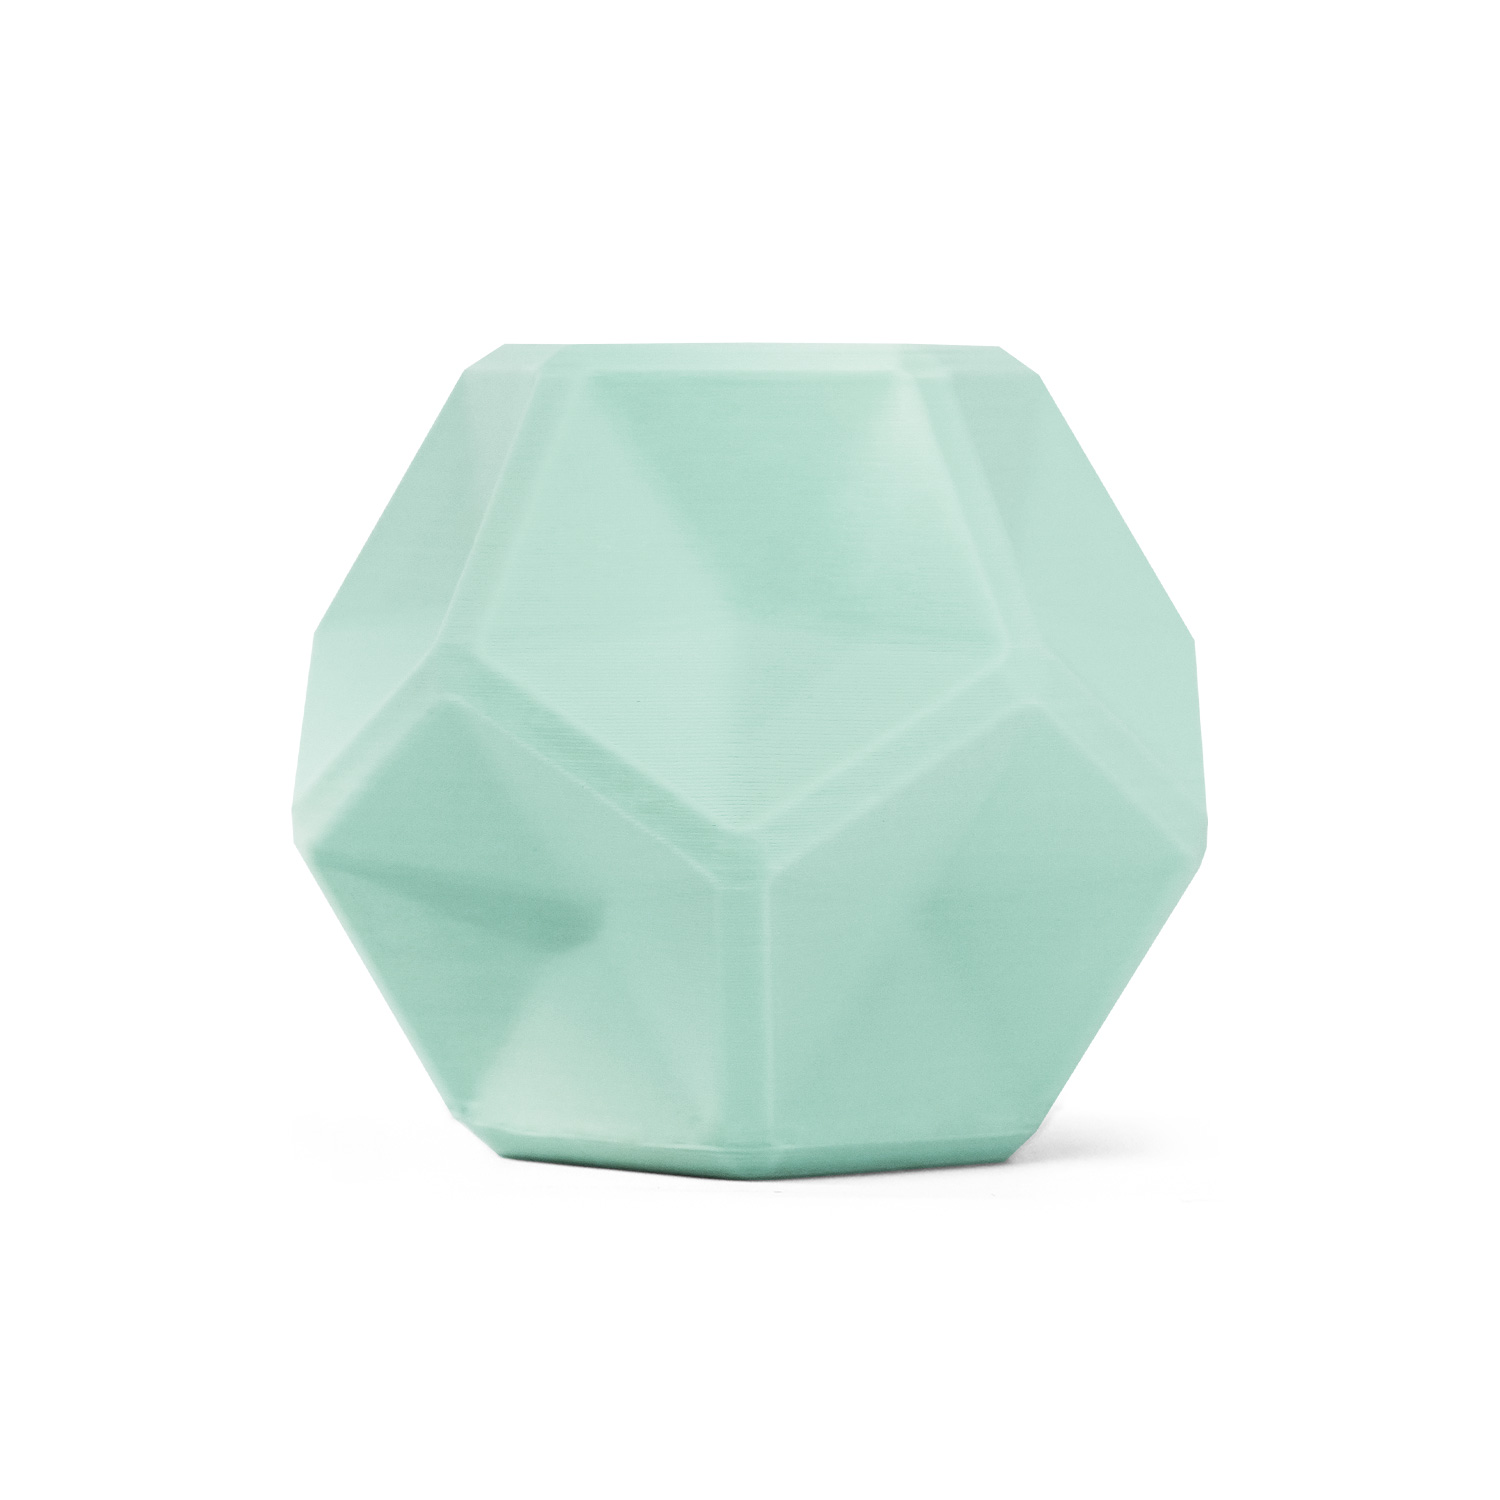
Before sending your small ship object to 3D printing, it's important to ensure that the model is free from errors and optimized for printing. Start by using Blender's built-in tools to check for any issues, such as non-manifold geometry or overlapping meshes. Once your model is error-free, it's time to prepare it for printing.
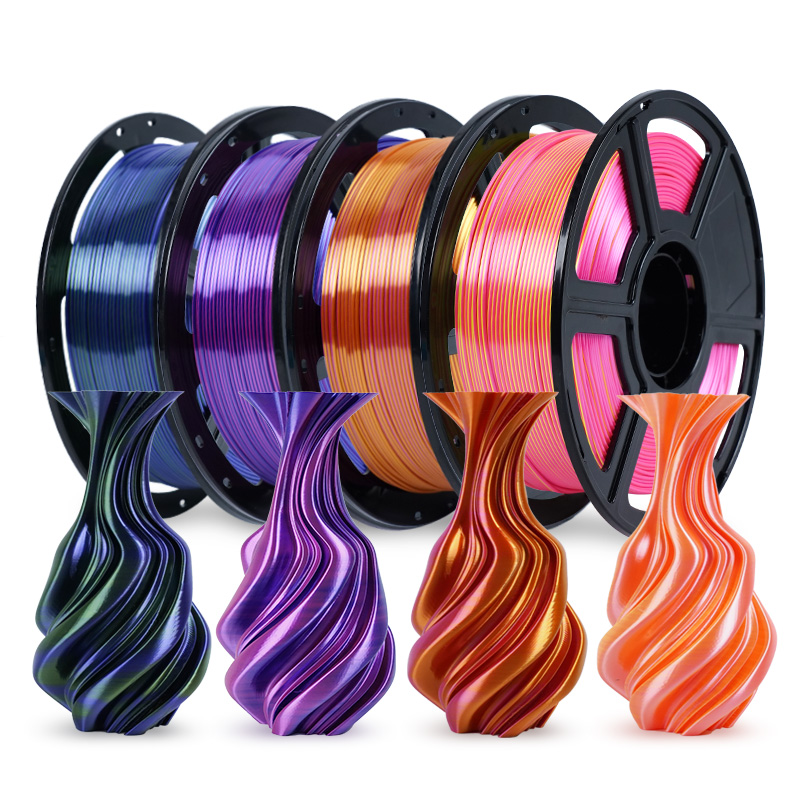
Depending on the size and complexity of your model, you may want to adjust the infill percentage and layer height for optimal printing results. For a small ship model, a 20-30% infill and a layer height of 0.1-0.2mm may be suitable.
Finally, be sure to export your model in a file format that is compatible with your 3D printer, such as STL or OBJ. With these steps in mind, you can ensure a successful and high-quality 3D printing experience with your small ship object.

Optimizing ship model in 3D Printing with Blender
Troubleshooting and Fine-Tuning
No matter how skilled you are at 3D modeling and printing, issues can still arise during the printing process. Understanding common issues and how to fix them is essential for successful 3D printing. Some common issues include bed adhesion problems, warping, and stringing. Fortunately, Blender offers tools to help diagnose and fix these issues, such as the 3D Print Toolbox add-on.
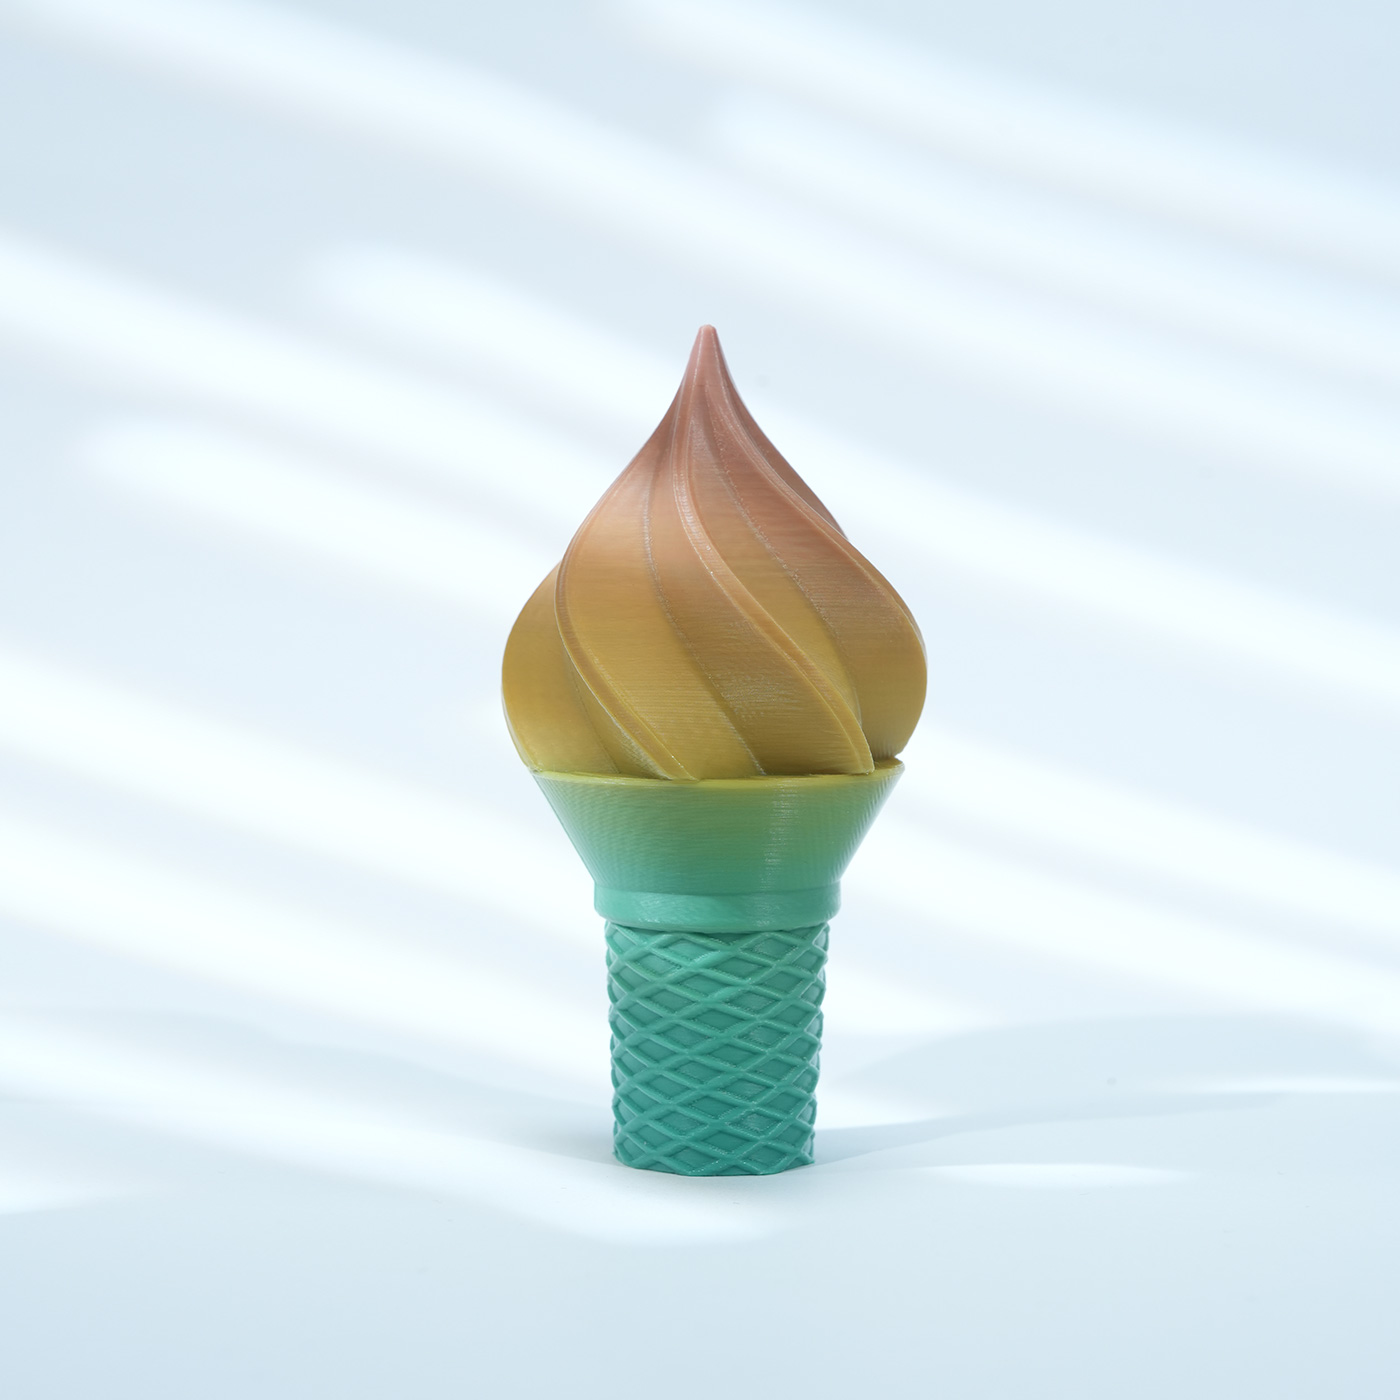
Additionally, fine-tuning your model can make a huge difference in the quality of your prints. This can include adjusting the infill percentage, layer height, and print speed. Experimenting with these settings and finding the optimal combination for your specific model can result in smoother surfaces, stronger prints, and better overall quality. For example, when printing a small ship object, adjusting the infill percentage to around 20% and using a layer height of 0.2mm can lead to great results. By troubleshooting and fine-tuning your models, you can avoid common issues and achieve the best possible prints

Troubleshooting in Blender
Successful Cases of using Blender Software :
The LUXeXcel Group, a Dutch company that specializes in 3D printed optics, uses Blender as one of their main design tools. With Blender, they can create complex and customized optics for a wide range of applications, including lighting, medical devices, and automotive sensors. Blender's powerful modeling and visualization tools allow them to quickly iterate and fine-tune their designs for optimal performance. LUXeXcel has received numerous awards for their innovative 3D printed optics, including the Dutch National Innovation Award in 2011.

3D Printed Lens
MyMiniFactory, a 3D printing community and marketplace, uses Blender to create and share 3D printable models. The platform has a large library of user-generated designs, ranging from toys and figurines to household items and jewelry.

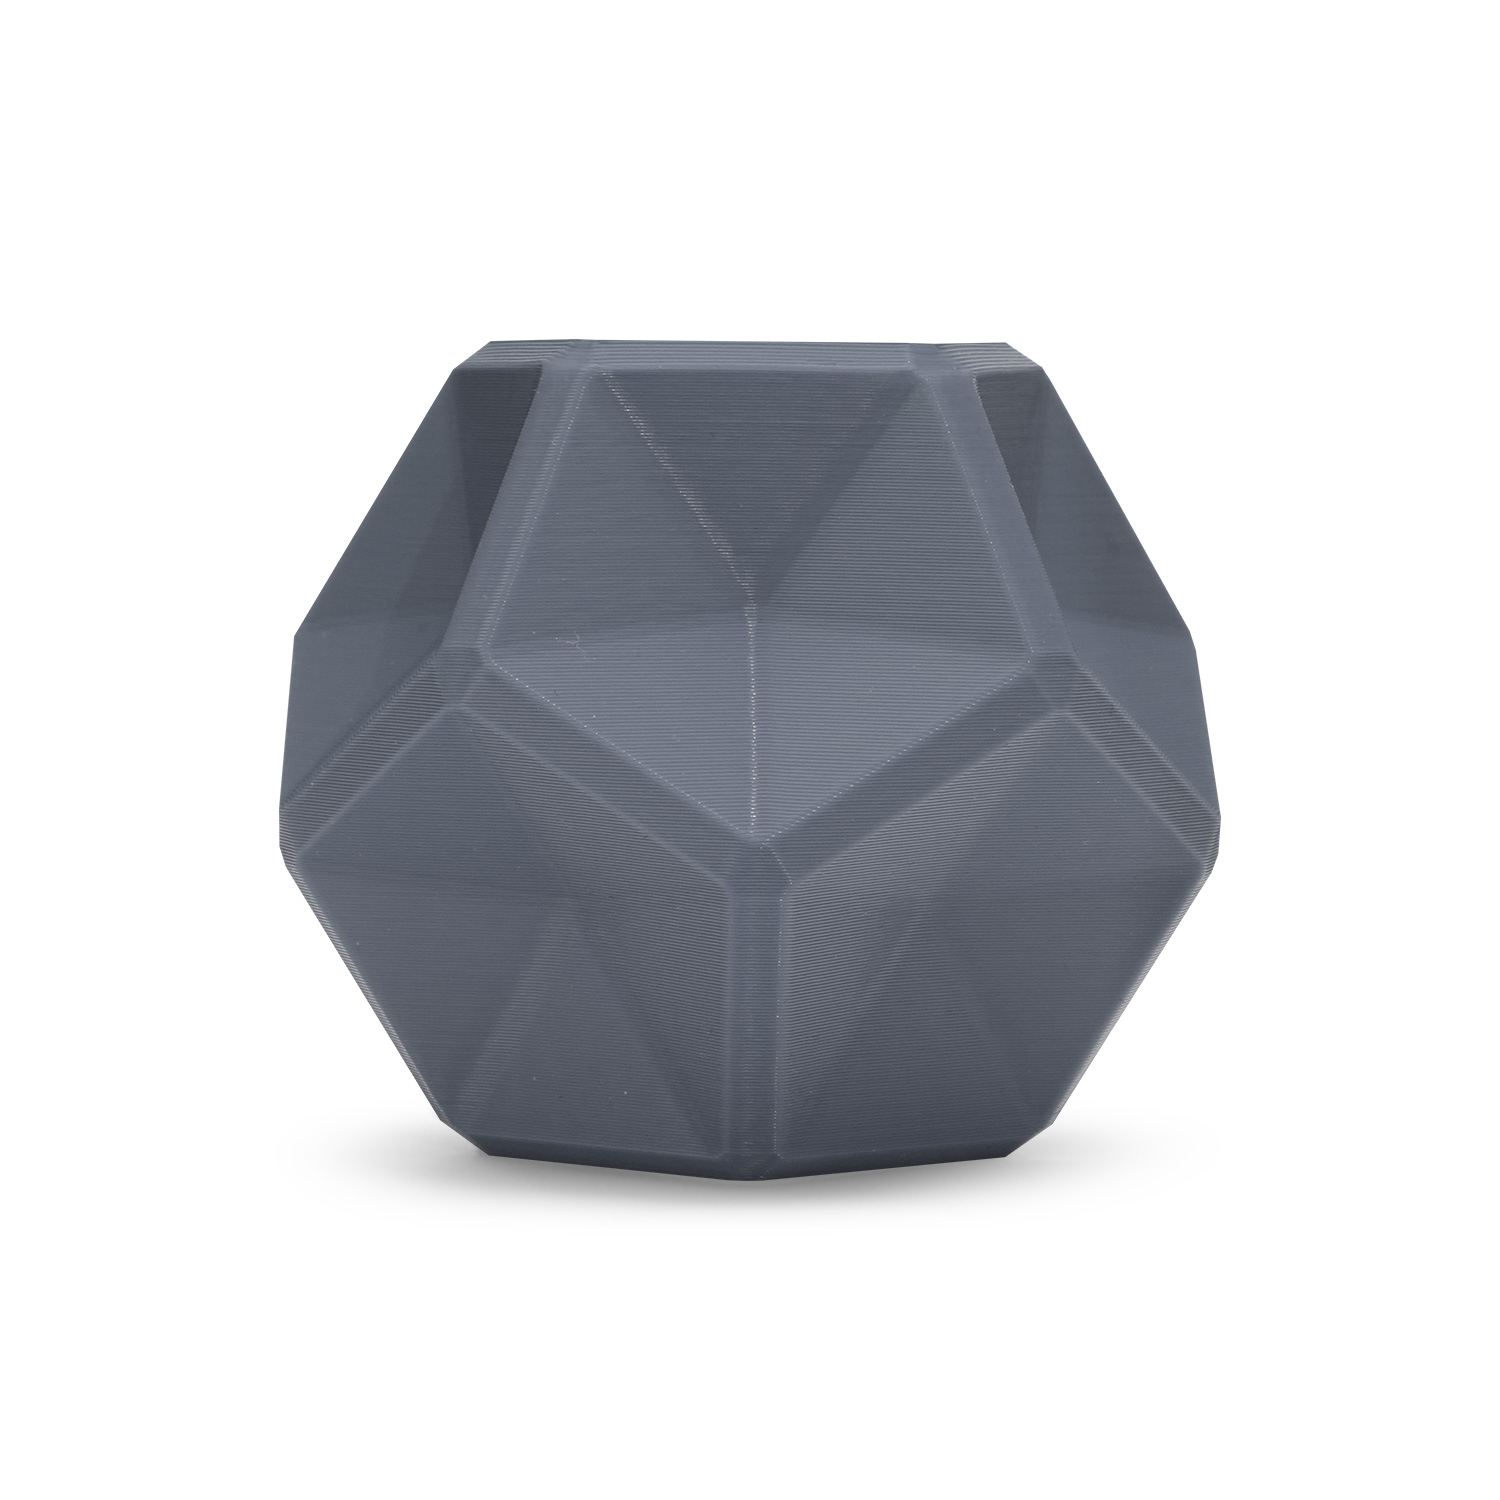
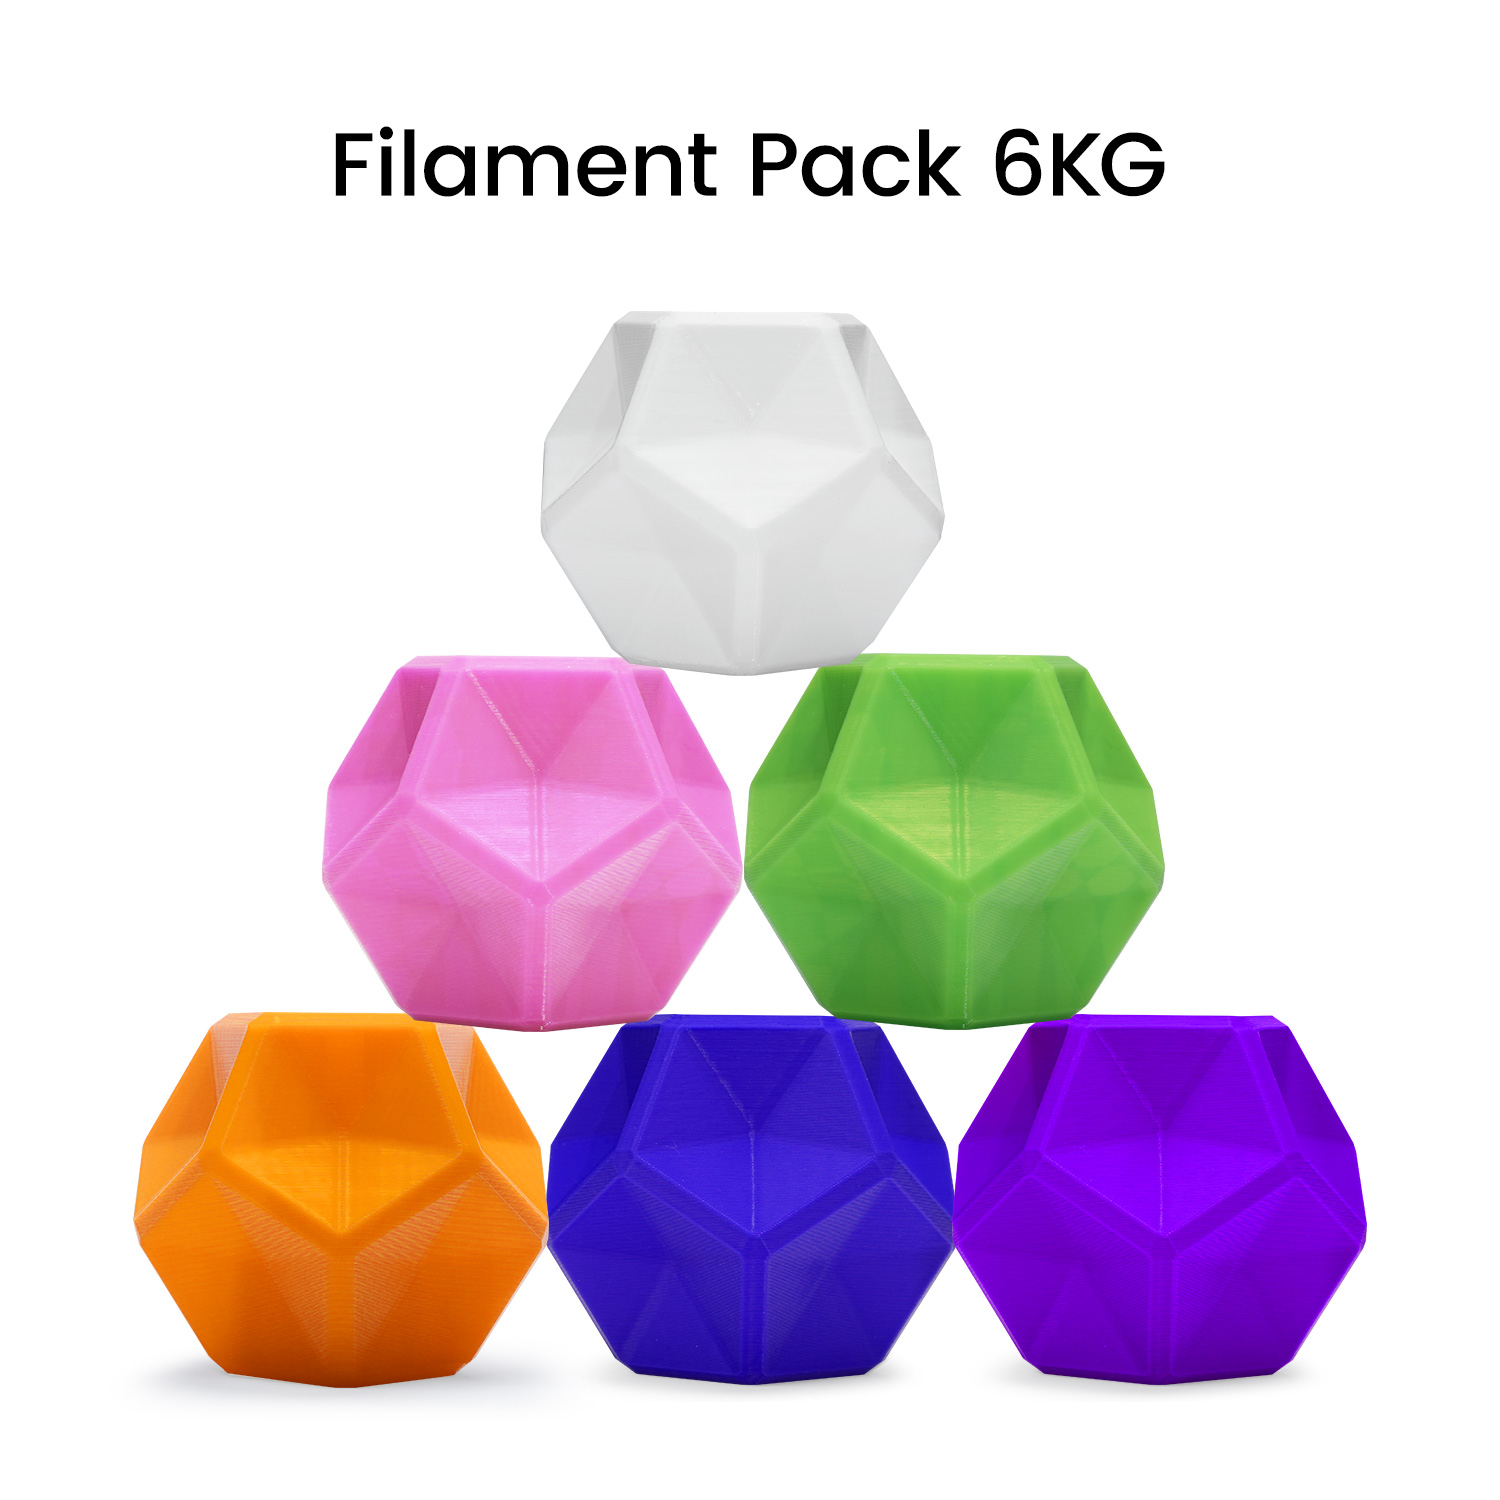
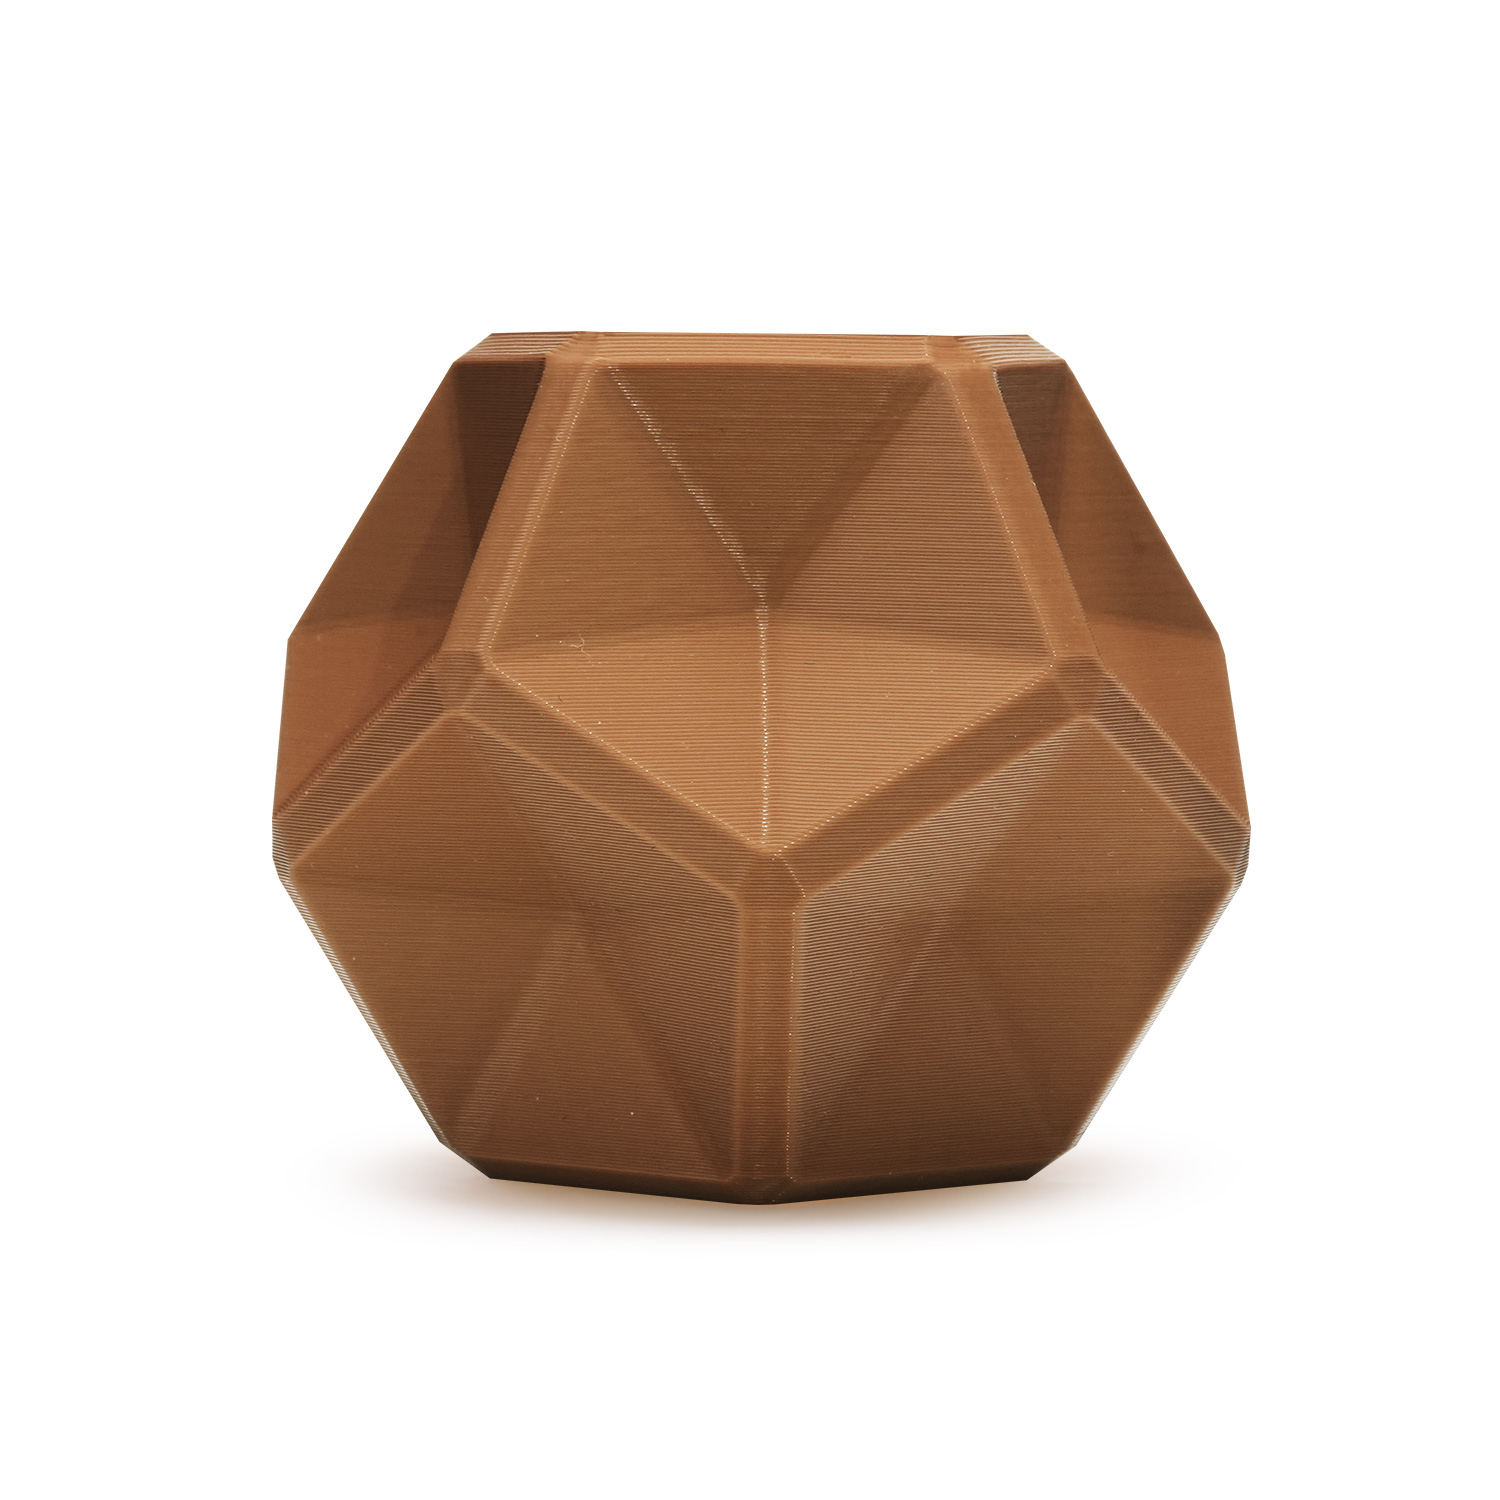
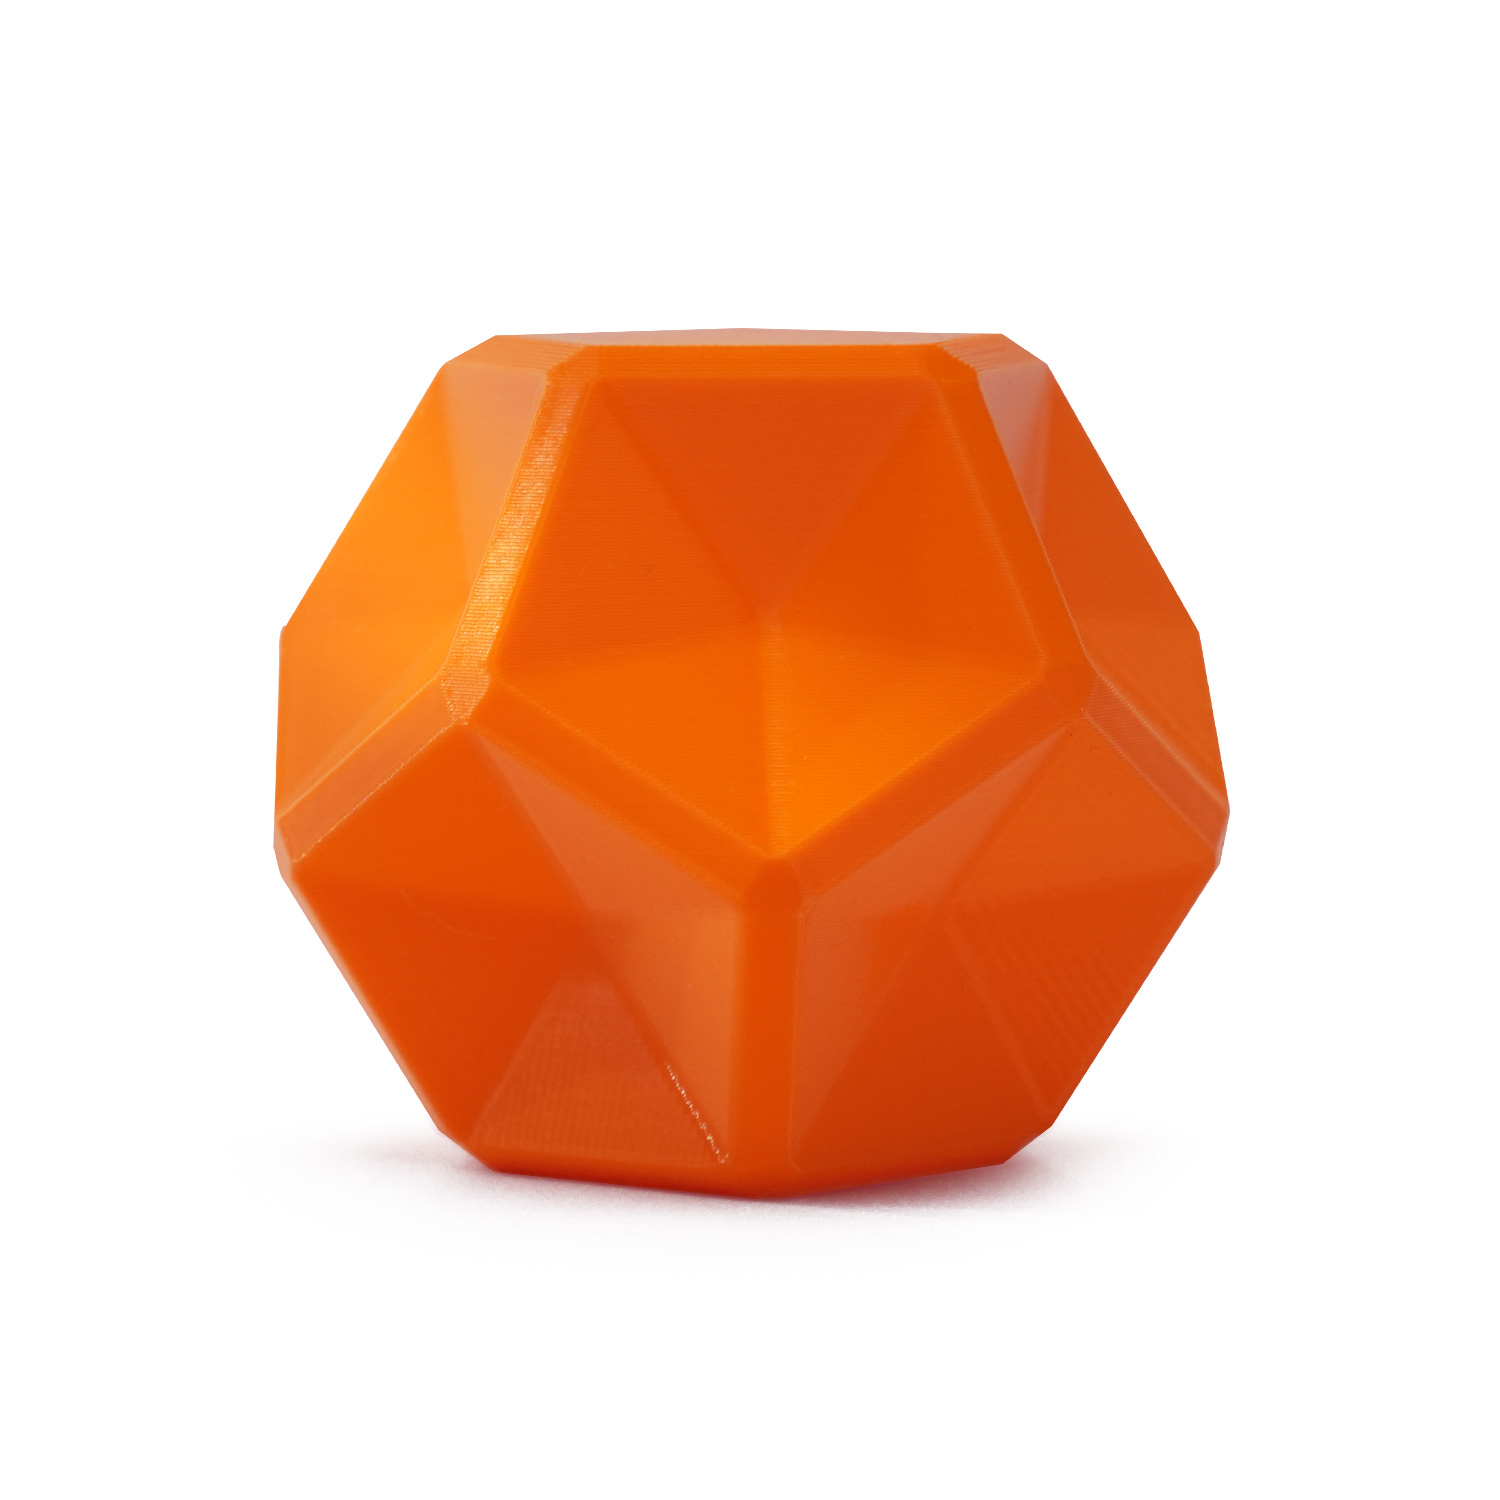
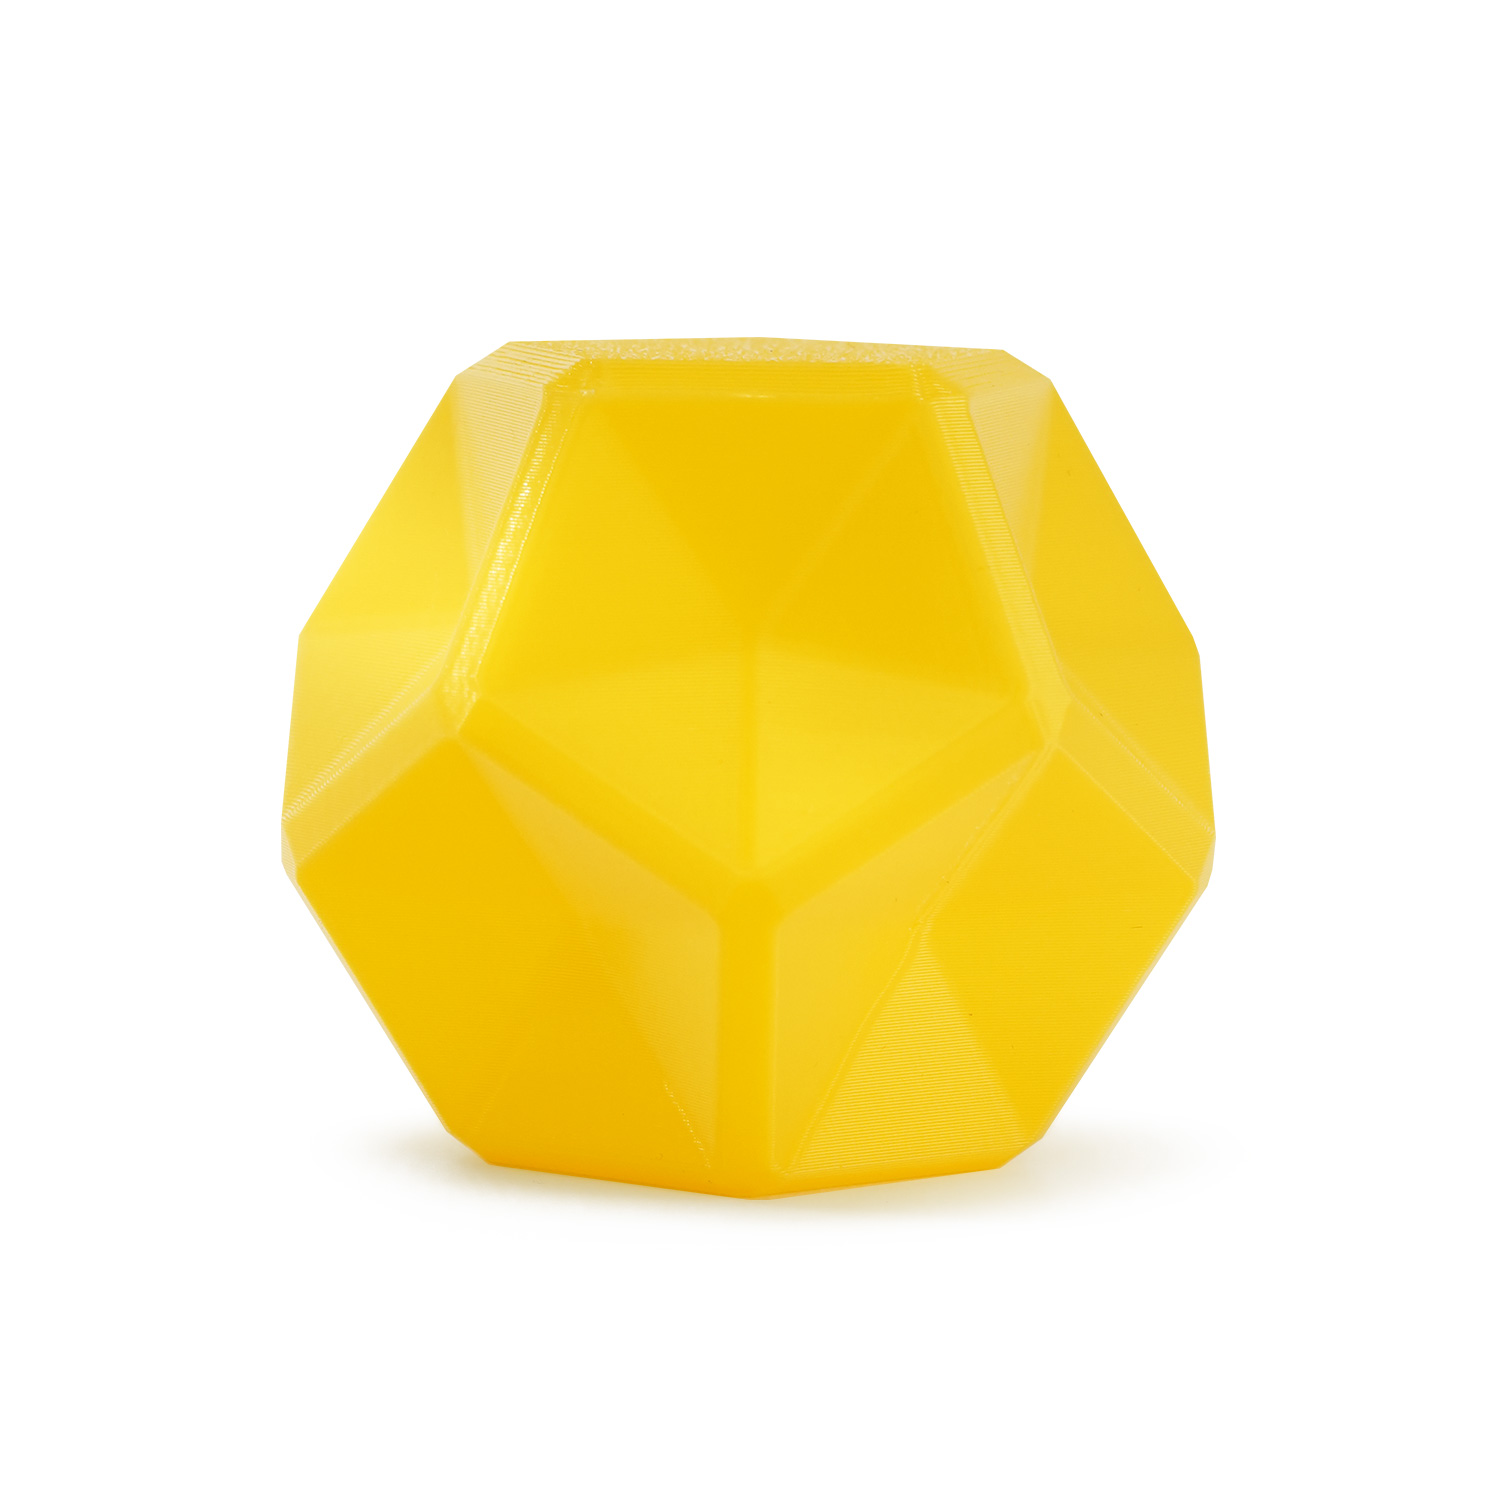
3D Print STL files made by Blender Software
The Dutch design firm Studio Mango used Blender to create a 3D printed bike saddle that is optimized for comfort and airflow. The design features a unique lattice structure that provides both support and ventilation, and was made possible through the use of advanced modeling techniques in Blender.
The Italian design firm Lago used Blender to create a modular storage system called "LagoLinea". The system consists of a series of interlocking cubes that can be configured in endless ways, and was designed with 3D printing in mind. By using Blender to optimize the design for 3D printing, Lago was able to create a product that is both customizable and easy to produce on demand.


